Lots of good news this month! I shared on Saturday that my nephew was getting married, and today I have a card that will be for his twin sister, who is having a bridal shower next week. I'm spending the next few days in Southern California, but unfortunately I have to leave before the shower. So I'm prepared - I have a gift being sent to my sister's home (where I'll be staying) and am bringing this card (Schuyler doesn't look at my blog 😕) so I'll be represented at the shower.
And look how pretty and soft:
I saw a little video by Carol Brown on how to create this background using a piece of plastic wrap (like you wrap food in). It's very easy, but so pretty!
Start with a piece of Shimmery White cardstock (I cut mine to 4-1/2" x 11" so I could choose the best area for my card), and add colors (your choice; I used Coastal Cabana and Fresh Freesia, but you can add more) using a Blending Brush. Once you have the cardstock mainly covered with ink, take a piece of plastic wrap (larger than the size of your cardstock), mist it with water (Stampin' Spritzers are perfect for this technique, as they give you a fine mist and not heavy drops) and then carefully lay it on your cardstock. Do NOT worry about wrinkles in the plastic wrap - the more wrinkles the better and you can gently "squish" the wrap around the wrinkles. Set it aside and let it dry (leave the plastic wrap in place). And you'll have something that looks like this:

Can you see the wrinkle lines? And it you look near the bottom, by my watermark, you'll note some little "bubbles" where the water beaded up.
Depending on how many colors you use, and how many wrinkles in your wrap, no two cards will be the same!
Then it's time to create your card.

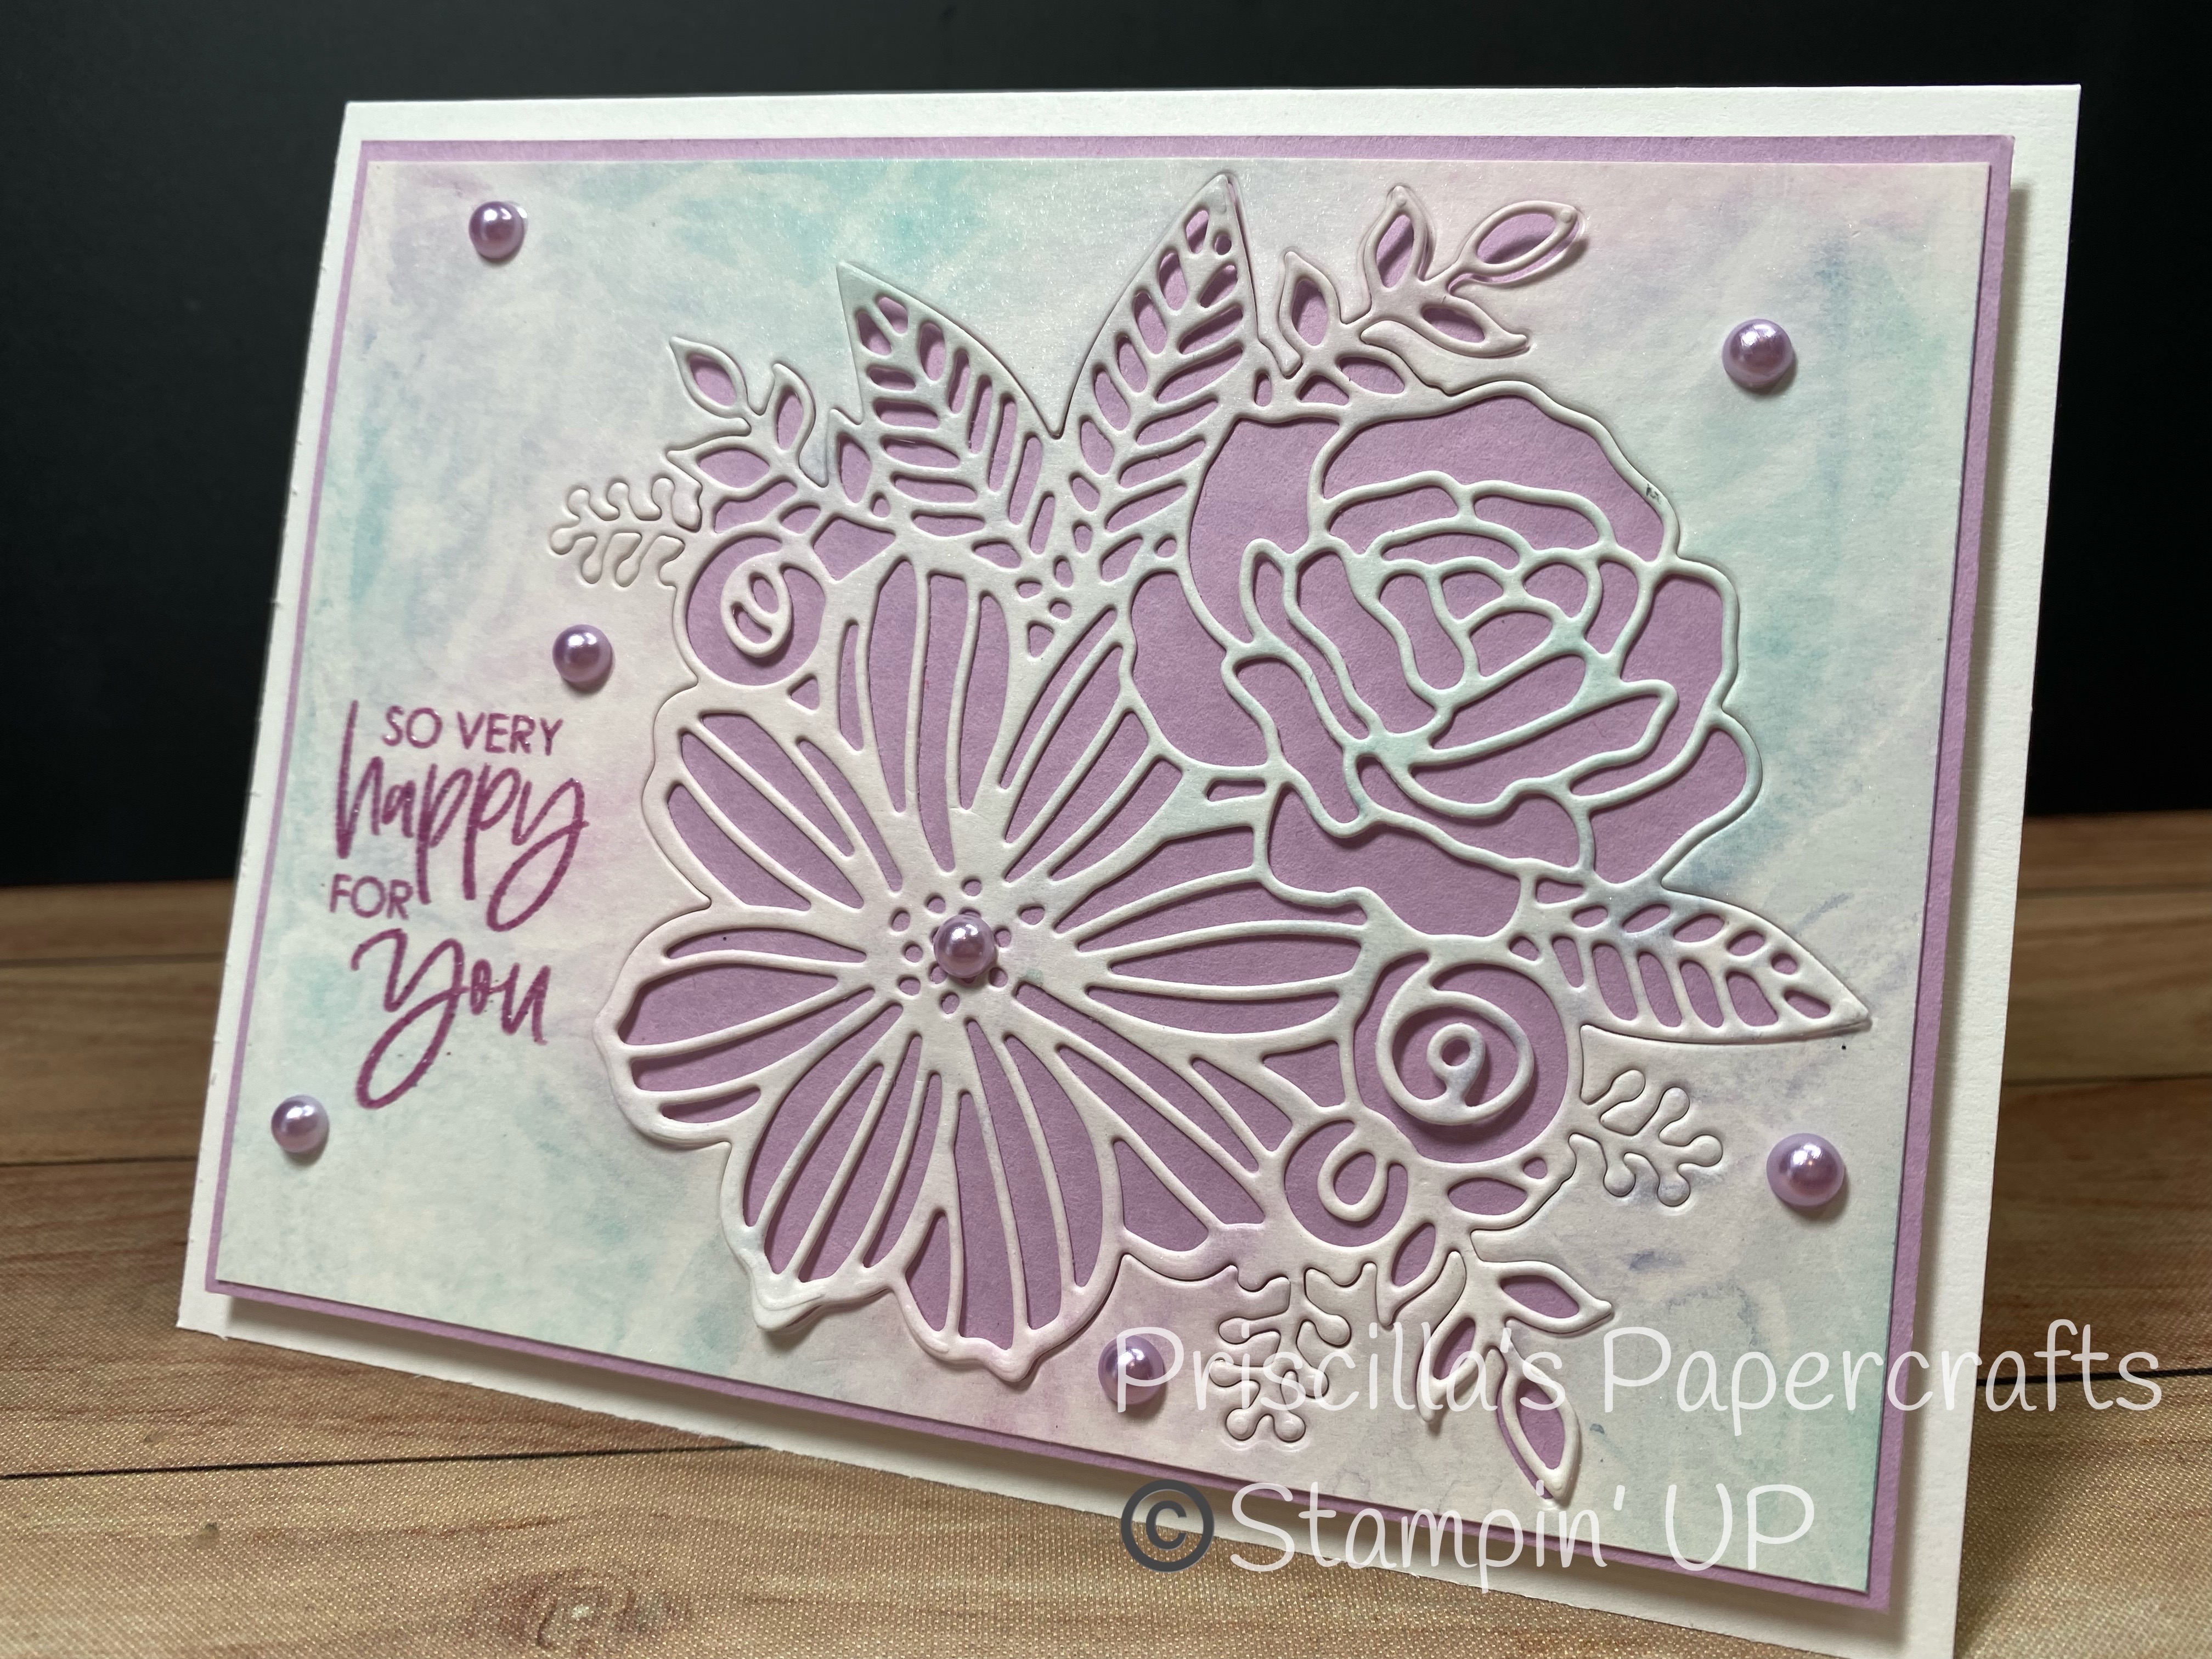
I cut the large die from the Artistic dies right into my pretty paper. Then I adhered the paper (with a hole in it) to a layer of Fresh Freesia. After punching all the little bits out of the die-cut, I reinserted it back into the hole it left, using Liquid Glue in strategic areas - I wanted a little dimension and didn't want the entire floral image flat.

The greeting, from Color & Contour, was stamped with Fresh Freesia ink (using the Stamparatus) and then stamped again with Versamark. This allowed me to use Clear Embossing Powder and heat set it for a shiny greeting.

Such a soft palette of colors, just perfect for a bride-to-be!
And a fun technique - I hope you'll give it a try!
Product List


")


No comments:
Post a Comment