Time to see what I've been doing and look at the mess on my desk. I had a bunch of Santas left over from a class, so this is what my desk looked like this week:
I was getting ready to send my grandkids some treat tubes with holiday-colored M&M's, so these were also sitting there. I thought about packaging ideas, and then THIS happened:
I wanted to design a holder for the treat tubes, and with all the Santas I had sitting there, I thought maybe a little "box" would be cute. This is is the primitive drawing I made so that I could "picture" it in my head.
Who remembers Raspberry Ripple cardstock? I had a partial package of this long-ago In Color and decided to use it for my design project:
I knew I would use the
Scalloped Tag Topper punch for one end, so I scored the other end to try to create a box, but I got the measurements wrong. Do over:
Using 3/4" increments, I tried again, and:
Yes! I've determined that scoring every 3/4" x four will make the box I wanted at the bottom of my carrier. So now for the REAL one, using
Whisper White Thick Cardstock--I cut a strip just less than 2" wide by 8-1/2":
Then I scored one end at 3/4", 1-1/2", 2-1/4" and 3":
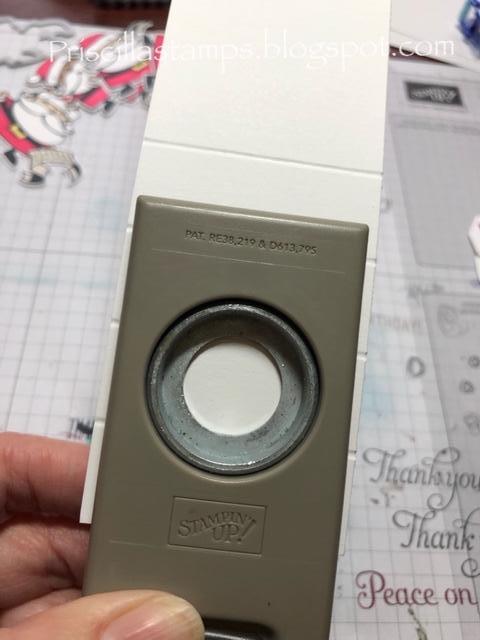
And the box needs a hole for the treat tube:
The
3/4" circle punch is perfect.
Once I've punched the top of the cardstock this is what I have:
Now to make the box - I fold and burnish each score line and add some
Multipurpose Liquid Glue to the end:
Now to make it pretty.
I have some Under the Mistletoe Designer Series Paper; the back will be 4" x 1-3/4":
And the little strip on the front is 3/4" x just under 2":
Using a retired set, Greetings from Santa and the Take Out Thinlits, I create some tags:
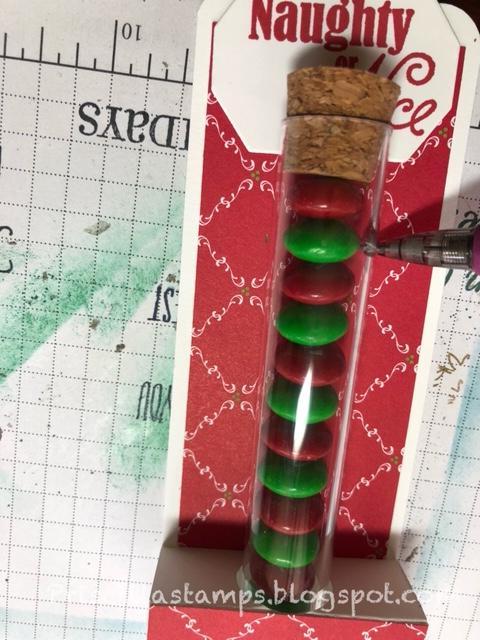
And now I need to lock my treat tubes into place. I start by marking a place for two holes on either side of the treat tube:
And punch them with the 1/8" circle punch:
A piece of retired red ribbon, 1/8" wide, is threaded through and tied around my treat tube:
Almost done. Let's add the final decorations - a mini tree (again, a retired punch):
With some Red Rhinestones and Santa:
And done:
And that was what was on my desk today...do you think my grandkids will love them?
Supplies used are listed below:
Product List


 Designer Series Paper")


 Braided Linen Trim")