Had a nice surprise when I got in from visiting my folks the other night--my October Paper Pumpkin had arrived. I've been so busy I haven't had time to even open it, but this weekend is MY time. This is what I'll get to create:
Not a subscriber yet? Why ever not? Each month you receive a bright orange box (except October's box was PINK - to highlight breast cancer awareness; and a donation was made for EVERY box shipped!) with everything you need to create cards and paper craft projects. Such fun! Click on the link to the right and you can have your very own Paper Pumpkin delivered right to your door!
Saturday, October 31, 2015
Thursday, October 29, 2015
Busy, Busy, Busy (and a little bit sad)
Have you ever had times in your life when it seems that you're on a merry-go-round and it becomes the longest ride ever? I feel that my last few weeks have been like that. Geez, every time I turn around there is something else to do. And yet, nothing ever seems to get done!
I spent the beginning of this month prepping for a class that never happened. So sad--I created and prepared (and ordered supplies for) a Christmas Card class and was really excited about the cards I had to show. I sent out my invitations--I had to move the class up a week, as I was leading a big event at my real job and would be working 12-hour days for one week; I knew I'd be too exhausted by Friday to hold a class, so I bumped it up...and then had to cancel! What? Yes, as so often happens, life got in the way. And here I had supplies and cute cards and...nothing. (insert sad face)
Then came hell week (pardon my frankness) and the accompanying sleepless nights (planning what I would be presenting all week) and the aftermath of presentations to upper management, and suddenly it was time to take a trip. I was going to the East Coast to visit my parents for a week. So I hurriedly prepared my blog posts (did you even notice I was gone?), held a team meeting for my Stampin' Amigos, and flew out at 6:30 the next morning.
Sometimes it's good to have low expectations...visiting elderly parents (and don't get me wrong--I LOVE visiting my folks) can be trying. Fortunately this time my sister (who lives 400 miles away from me) joined me--our annual "together" trip. And somehow we managed to take a New England Leaf-Peeping road trip for 3 days, totally enjoying the absolutely gorgeous colors, visiting long-time family friends, and reminiscing on the shore of a lake in New Hampshire where I spent summers as a kid. Overall the visit was extremely nice; and I think we accomplished our main goal of convincing my folks to come to California for a few months during the upcoming winter, to escape the harsh weather that is expected on Cape Cod this year.
Then it was time to return home (and to my sweet husband, who hates to fly, so allows me to go off alone). And the very next day was my first grandson's 5th birthday! So up early (not too difficult as I was still on east coast time), unpacked, cleaned up, and sat down to make him a card. And now comes the "little bit sad" part of my post.
While on Cape Cod, I got a call from my son, informing me that he and his wonderful wife and two adorable sons (my first and second grandchildren) are moving to Maryland - IN TWO WEEKS! A job change (Air Force orders) is prompting the move. Although I knew he had applied for this position, I was secretly hoping it wouldn't come through. These two kids live only an hour away right now, and we have been able to enjoy all their special moments (I was in the delivery room when they were born, and have been to nursery school presentations, baptisms, birthday parties and trick-or-treating) and now they'll be 3000 miles away! (insert devastated face!)
So I took one more day of "vacation" and spent it with my grandson. I love him to pieces and will miss him terribly. But I made him a fun card, so without further sad stories, I'll show you a little creativity:

Boys Will Be Boys is such a cute stamp set. It has Legos, a robot, and a parachuting army man--lots of things my own boys, and now my grandsons, play with.
 I ran a piece of Whisper White cardstock through my Big Shot using the Chevron Embossing Folder and added it to my card base (of Whisper White Thick Cardstock). I stamped my robot on "vintage" Brushed Silver cardstock and then again on Daffodil Delight, Real Red, Night of Navy, Whisper White and Basic Black papers, fussy-cutting the various colored pieces and adding them to my robot. This was all cut out (I ONLY do this for special people!) and popped up on Dimensionals.
 I embossed Night of Navy with the Lucky Stars Embossing Folder and cut out a rectangle; and adhered another piece of Real Red with a smaller opening underneath. This was then added to my card front with more Dimensionals. Some Silver Glimmer Paper stars were adhered along with a sentiment from the same set.
 Of course I needed a special envelope too...
Here is my birthday boy:
 Happy 5th Birthday, darling, Ethan! I love you to the moon and back!
Thanks for "listening"...I guess I needed to get all these feelings off my chest!
Most items can be purchased here.
I spent the beginning of this month prepping for a class that never happened. So sad--I created and prepared (and ordered supplies for) a Christmas Card class and was really excited about the cards I had to show. I sent out my invitations--I had to move the class up a week, as I was leading a big event at my real job and would be working 12-hour days for one week; I knew I'd be too exhausted by Friday to hold a class, so I bumped it up...and then had to cancel! What? Yes, as so often happens, life got in the way. And here I had supplies and cute cards and...nothing. (insert sad face)
Then came hell week (pardon my frankness) and the accompanying sleepless nights (planning what I would be presenting all week) and the aftermath of presentations to upper management, and suddenly it was time to take a trip. I was going to the East Coast to visit my parents for a week. So I hurriedly prepared my blog posts (did you even notice I was gone?), held a team meeting for my Stampin' Amigos, and flew out at 6:30 the next morning.
Sometimes it's good to have low expectations...visiting elderly parents (and don't get me wrong--I LOVE visiting my folks) can be trying. Fortunately this time my sister (who lives 400 miles away from me) joined me--our annual "together" trip. And somehow we managed to take a New England Leaf-Peeping road trip for 3 days, totally enjoying the absolutely gorgeous colors, visiting long-time family friends, and reminiscing on the shore of a lake in New Hampshire where I spent summers as a kid. Overall the visit was extremely nice; and I think we accomplished our main goal of convincing my folks to come to California for a few months during the upcoming winter, to escape the harsh weather that is expected on Cape Cod this year.
Then it was time to return home (and to my sweet husband, who hates to fly, so allows me to go off alone). And the very next day was my first grandson's 5th birthday! So up early (not too difficult as I was still on east coast time), unpacked, cleaned up, and sat down to make him a card. And now comes the "little bit sad" part of my post.
While on Cape Cod, I got a call from my son, informing me that he and his wonderful wife and two adorable sons (my first and second grandchildren) are moving to Maryland - IN TWO WEEKS! A job change (Air Force orders) is prompting the move. Although I knew he had applied for this position, I was secretly hoping it wouldn't come through. These two kids live only an hour away right now, and we have been able to enjoy all their special moments (I was in the delivery room when they were born, and have been to nursery school presentations, baptisms, birthday parties and trick-or-treating) and now they'll be 3000 miles away! (insert devastated face!)
So I took one more day of "vacation" and spent it with my grandson. I love him to pieces and will miss him terribly. But I made him a fun card, so without further sad stories, I'll show you a little creativity:

Boys Will Be Boys is such a cute stamp set. It has Legos, a robot, and a parachuting army man--lots of things my own boys, and now my grandsons, play with.


Here is my birthday boy:

Thanks for "listening"...I guess I needed to get all these feelings off my chest!
Most items can be purchased here.
Tuesday, October 27, 2015
Weekly Deals
Here are some fun items on sale this week:
All items can be purchased here.
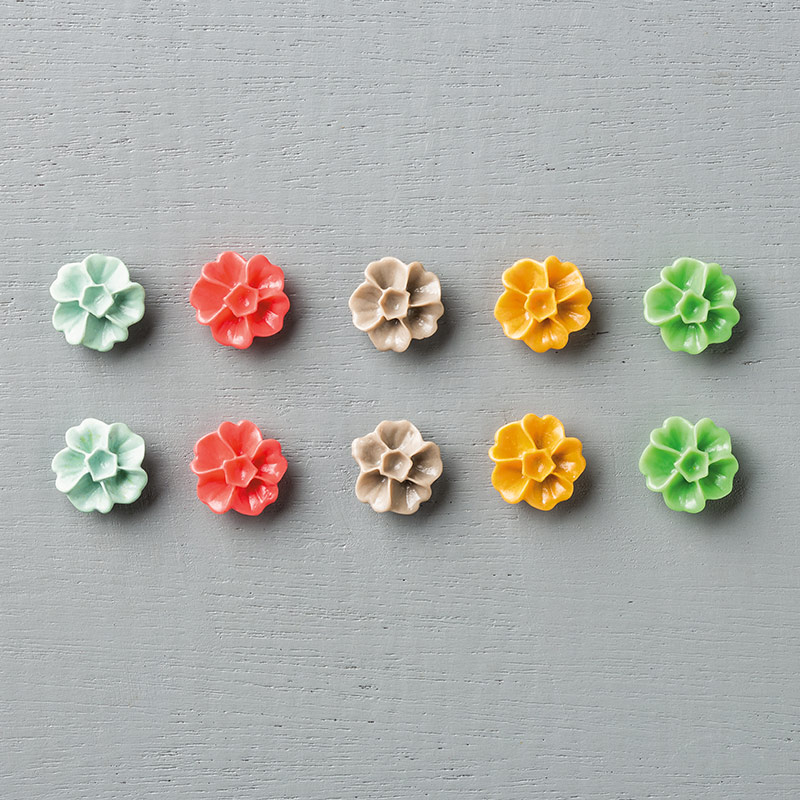 | 2015-2017 In Color Blossom Accents Item # 138383 Regular Price: $8.00 US/$10.00 CAN Discounted Price: $6.00 US/$7.50 CAN |
 | Venetian Crochet Trim Item # 134581 Regular Price: $7.00 US/$8.75 CAN Discounted Price: $5.25 US/$6.56 CAN |
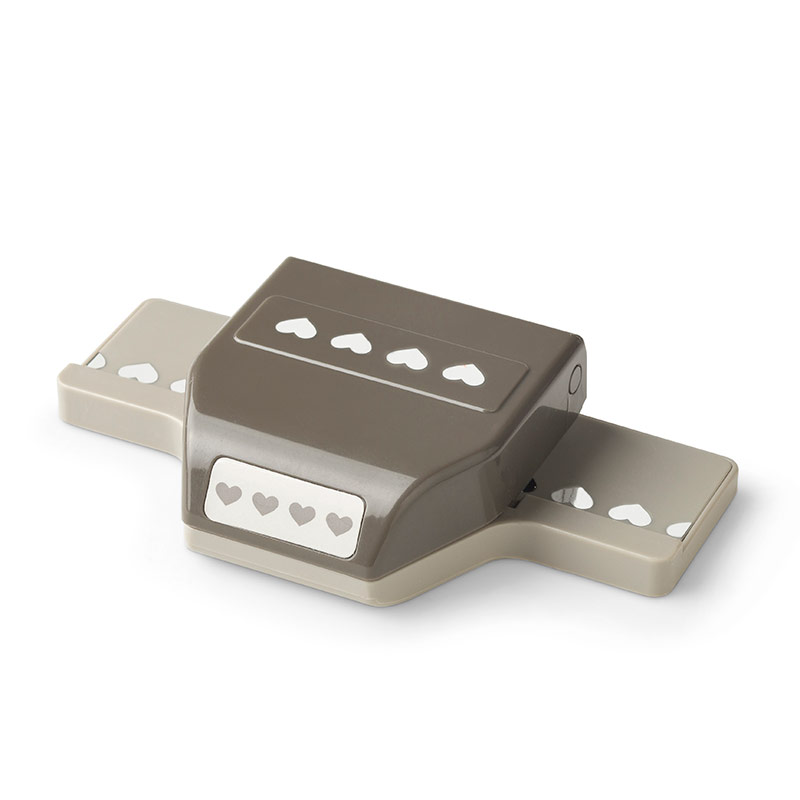 | Hearts Border Punch Item # 133784 Regular Price: $16.00 US/$20.00 CAN Discounted Price: $12.00 US/$15.00 CAN |
 | Tiny Triangles Textured Impressions Embossing Folder Item # 133740 Regular Price: $7.50 US/$9.25 CAN Discounted Price: $5.63 US/$6.94 CAN |
All items can be purchased here.
Sunday, October 25, 2015
Christmas Wrapping
Last week I showed you some easy Christmas packaging (see here).
Today I want to give you a little more detail about what I did to make this special.
 These boxes use the Tag a Bag Gift Boxes, which are wonderful, food safe, boxes that come with acetate sleeves. They are essentially good to go, but you can have lots of fun decorating them.
 This box was dressed up using the Season of Cheer Designer Series Paper. I cut a piece the same length as the box, with a 1" overlap on either side. The corners of the DSP were rounded with the Project Life Corner Rounder and I scored each side at 1". Then I just laid the paper over the box and slipped it inside the sleeve.
The box was tied using White Organza Ribbon. Under the knot, I slipped a 3/4" circle with Silver 1/8" ribbon looped over it, and then I added some Silver Sequins.
But it's the tag that makes this special:
 I first cut a piece of Whisper White Thick Cardstock with the Chalk Talk Framelits. I sponged "sky" using Marina Mist and Night of Navy inks. I then used my Sleigh Ride Edgelilts to cut Dazzling Diamonds Glimmer paper and then cut another one of the trees using Lost Lagoon, and the sleigh from Night of Navy. The horse was cut using Early Espresso. I carefully trimmed the trees, sleigh and horse, and adhered them right over the original piece.
 Very soft and sparkly gift packaging.
Then I took another box and stamped it using the mistletoe stamp from Embellished Ornaments. I covered it with another piece of Season of Cheer DSP:

And I decorated the acetate sleeve using Mossy Meadow cardstock, Burlap Ribbon and a sparkly piece of Glitter Ribbon.
 The tag (another Chalk Talk Framelit) was stamped and colored and added to a Mossy Meadow oval:
 I finished it off with a Home for Christmas Enamel Dot embellishment and a cute little Santa hat (it uses a SU Clothespin to hold it in place).
So I'm already getting a head start on my holiday wrapping! Yippee!
All products can be purchased here.
Today I want to give you a little more detail about what I did to make this special.


The box was tied using White Organza Ribbon. Under the knot, I slipped a 3/4" circle with Silver 1/8" ribbon looped over it, and then I added some Silver Sequins.
But it's the tag that makes this special:


Then I took another box and stamped it using the mistletoe stamp from Embellished Ornaments. I covered it with another piece of Season of Cheer DSP:

And I decorated the acetate sleeve using Mossy Meadow cardstock, Burlap Ribbon and a sparkly piece of Glitter Ribbon.


So I'm already getting a head start on my holiday wrapping! Yippee!
All products can be purchased here.
Friday, October 23, 2015
Stacked with Birthday Greetings
Time for a quick birthday card. This is one you can put together with any pieces of designer series papers you have sitting around (and I KNOW you have designer series papers just sitting around--if you're like me, you hoard these, scraps and all, and suddenly feel like you're drowning in paper!)
 This card uses a base of Whisper White Thick Cardstock. The sentiment is from Watercolor Words and is stamped in Cucumber Crush. This is mounted to a thin layer of Cucumber Crush cardstock and adhered to the card.
I used the 1-1/4" Circle Punch to punch out 4 circles from the Cherry on Top Designer Series Paper Stack. I mounted them to punched Whisper White circles to give them a little heft, then popped them up on Dimensionals. I trimmed off the top and bottom circles.
 And of course there's a matching envelope. The Envelope Liners Framelits make it easy to place a matching liner inside your envelope (and you get to use a little more of your DSP--your hubby's gonna love you for it, as you slowly divest your craft room of extra papers!).
All products can be purchased here.

I used the 1-1/4" Circle Punch to punch out 4 circles from the Cherry on Top Designer Series Paper Stack. I mounted them to punched Whisper White circles to give them a little heft, then popped them up on Dimensionals. I trimmed off the top and bottom circles.

All products can be purchased here.
Wednesday, October 21, 2015
Vintage Leaves
Here's a simple, elegant card that has many uses.
 We made this card at my Card Club last month and my attendees got to choose a variety of sentiments. From birthday to thank you to sympathy--this card does it all.
We started with a Mossy Meadow card base, and added a layer of Pear Pizzazz. Then on the Whisper White we stamped Vintage Leaves in various colors, layering Pear Pizzazz (stamped off once) with another leaf in full strength Pear Pizzazz, then Old Olive and Mossy Meadow.
 The sentiment from Petite Pairs was stamped and cut out with the Leaflets Framelits, popped up with a Dimensional and decorated with a piece of (retired) Mossy Meadow Striped Satin Ribbon.
 Products can be purchased here.

We started with a Mossy Meadow card base, and added a layer of Pear Pizzazz. Then on the Whisper White we stamped Vintage Leaves in various colors, layering Pear Pizzazz (stamped off once) with another leaf in full strength Pear Pizzazz, then Old Olive and Mossy Meadow.


Tuesday, October 20, 2015
Weekly Deals
The deals this week are really great! I am so in love with the little bow builder punch, and now you can get it at a discount! See all the offered items here, and don't delay. Sale is only good for one week or as long as supplies last!
All items can be purchased here.
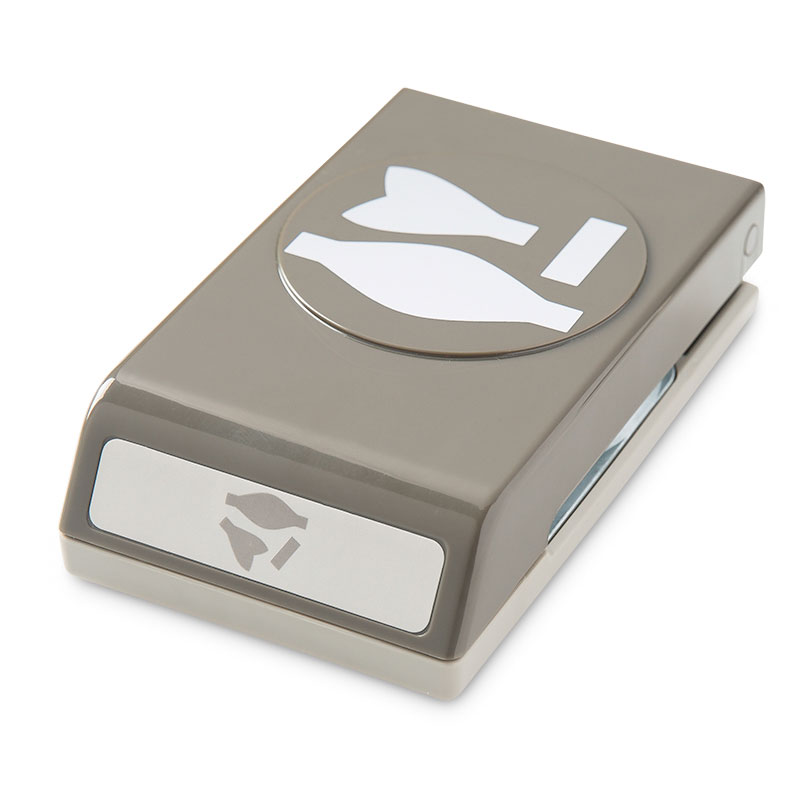 | Bow Builder Punch Item # 137414 Regular Price: $18.00 US/$22.00 CAN Discounted Price: $13.50 US/$16.50 CAN |
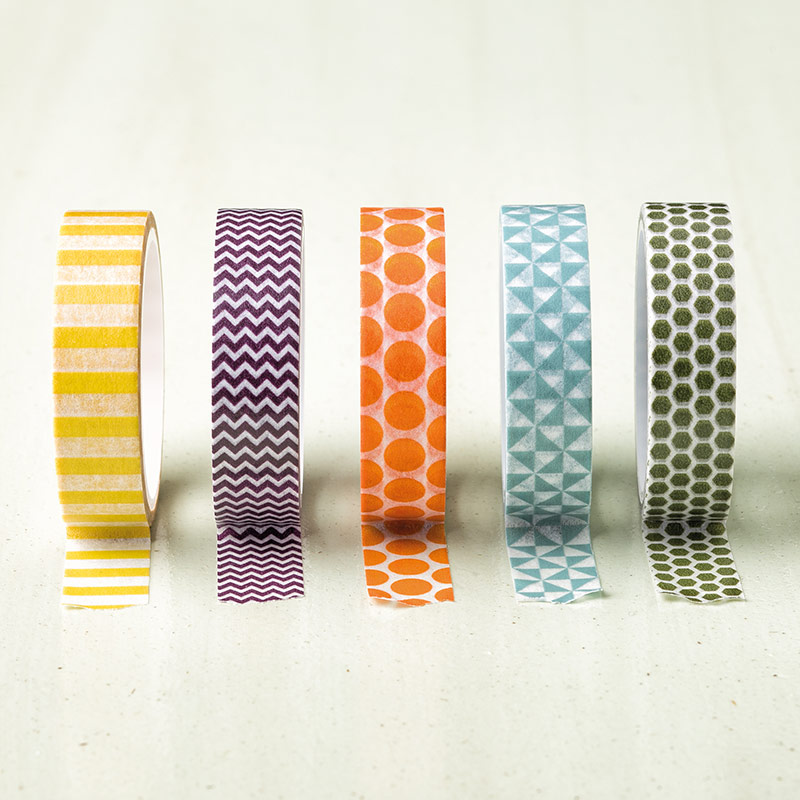 | 2014-2016 In Color Designer Washi Tape Item # 138382 Regular Price: $8.00 US/$10.00 CAN Discounted Price: $6.00 US/$7.50 CAN |
 | File Tabs Edgelits Dies Item # 133729 Regular Price: $11.00 US/$13.50 CAN Discounted Price: $8.25 US/$10.13 CAN |
 | Silver Fancy Foil Designer Vellum Item # 133364 Regular Price: $11.00 US/$13.75 CAN Discounted Price: $8.25 US/$10.31 CAN |
All items can be purchased here.
Sunday, October 18, 2015
Happy
Here's a quick and easy card with lots of panache! It's nearly a direct CASE of Mary Fish, with just a sentiment change. But the sophisticated and happy feel was perfect for my occasion:
 My son and daughter-in-law just celebrated their 7th wedding anniversary. And they make me happy! So this card seemed like just the best way to congratulate them on their 7 years of bliss.
 A Very Vanilla base has a thin layer of Basic Black and then the main panel of Timeless Elegance Designer Series Paper.
"Happy" was cut using the Hello You Thinlits Dies and Watermelon Wonder paper. See that exclamation point? That's the left over piece from one of the "p"'s and a cut-down piece from the "a".
Inside:
 Same layers as the front (with a Very Vanilla panel). You can't see the embosses lines around the edges--I used the Simply Scored Scoring Tool to create lines to define my sentiment, from Timeless Love, which is stamped in Watermelon Wonder ink.
Happy Anniversary, Matt and Sarah!
Products can be purchased here.


"Happy" was cut using the Hello You Thinlits Dies and Watermelon Wonder paper. See that exclamation point? That's the left over piece from one of the "p"'s and a cut-down piece from the "a".
Inside:

Happy Anniversary, Matt and Sarah!
Products can be purchased here.
Thursday, October 15, 2015
October Wacky Watercooler Blog Hop

It's that time again...time for another Blog Hop from the Wacky Watercooler gang. This month it's all about the holidays! From Halloween through New Year's, let's see what our friends have come up with to help get you in the spirit! You may have just hopped over from the ever-awesome Heidi Weaver--she never fails to WOW me! And if you've just joined us now, don't neglect to make your way around and see what everyone has created.
I couldn't choose just one holiday, so I chose three--let's start off with Halloween. I simply couldn't resist the adorable Howl-o-Ween stamp set and matching Boo To You framelits dies.

This Cascading Card uses nearly every stamp in the set. My owl is getting ready to Trick or Treat--see his little pumpkin candy holder?


Next up (for us Americans) is Thanksgiving (our Canadian friends celebrated earlier this week--Happy Thanksgiving!). This is a holiday that goes hand in hand with beautiful autumn colors, and I SO love seeing the leaves turn. So what could be better than seeing the trees through your window?


I then took a piece of Whisper White, adhered Envelope Paper "wallpaper" to the top half and cut a rectangular opening. A "chair rail" of Tip Top Taupe was scored and glued down. The window was cut out with the Hearth and Home Thinlits die and a piece of Window Sheet was added to the back; this was adhered to my "wall". Then this layer was popped up with Dimensionals to make it look like you are looking through a window.

And of course, every window needs a little "dressing"--Tip Top Taupe 1" Dotted Lace Trim made a perfect valance!
And finally, let's have a little Christmas spirit.


But I'm not done:


OK that's it for me. Come back next week for directions on my samples here.
And now on to Buffy Cooper, who has something fantastic to show you!
Thanks for stopping by...enjoy the Hop!


Wednesday, October 14, 2015
Expressing Thankfulness
"Thankful" is such a nice word. It conjures up more than "thank you"; there seems to be an added sense of "heart", something deeper, when you talk about being thankful. Do you feel that way too?
I send a lot of thank you notes at work. We like to thank our employees for a job well done, even if it's just something small, but a gesture that made someone else feel better. So I find myself making lots of thank you notes.
But every now and then I need more. Someone really goes out of his or her way to make someone feel special! And that's when I think "thankful".
So here's a card that's a bit more, something a little bigger than thank you. One that I hope a recipient would understand how much I appreciate what they've done:

This card has a lot of layers. The base is Early Espresso, with an off-kilter layer of Very Vanilla. Next up is another layer of Early Espresso with Hardwood stamped on it. (If you need help stamping these large background stamps, check out my Everyday Stampin' video here).
There's a strip of Bohemian Designer Series Paper (doesn't that look like corn on the cob?) and then a gorgeous leaf. (Full disclosure: you'll see acorns on this card. Acorns come from oak trees; this leaf is a maple leaf. There's an oak leaf in the set, but it was skinnier, and didn't look as good, so I chose the maple instead. I apologize to all my arbor-correct friends). The leaf, from Vintage Leaves, is stamped in Always Artichoke. Then it is cut out with the Leaflet Framlits. I crumpled the leave into a ball, and carefully straightened it out, then I sponged Crushed Curry, Pumpkin Pie, and Old Olive inks all over it.
On the back of the leaf is a Dimensional; I scrunched up some Gold Cording and stuck it onto the Dimensonal, and then added the leaf to my card.

The banner was stamped in Old Olive and cut out with the Banner Framelits.
So what do you think? Is this a "thankful" card?
All products can be purchased here.
Tuesday, October 13, 2015
Weekly Deals
Time for more Stampin' UP! goodness at a discount! Check out these specials:
I'm a particular fan of the Metal Rimmed Pearls and the Seam Binding Ribbon (so fresh in Wild Wasabi!).
Want to take advantage of these super prices? Order here.
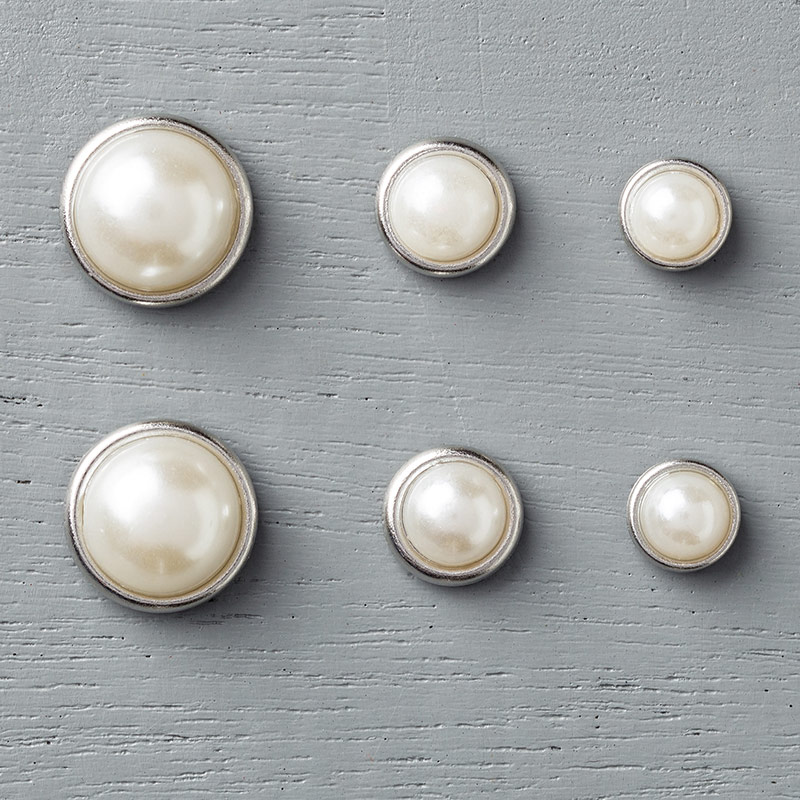 | Metal Rimmed Pearls Item # 138394 Regular Price: $5.00 US/$6.25 CAN Discounted Price: $3.75 US/$4.69 CAN |
 | Classy Designer Buttons Item # 138393 Regular Price: $6.00 US/$7.50 CAN Discounted Price: $4.50 US/$5.63 CAN |
 | Wild Wasabi 1/2" Seam Binding Ribbon Item # 134570 Regular Price: $7.00 US/$8.75 CAN Discounted Price: $5.25 US/$6.56 CAN |
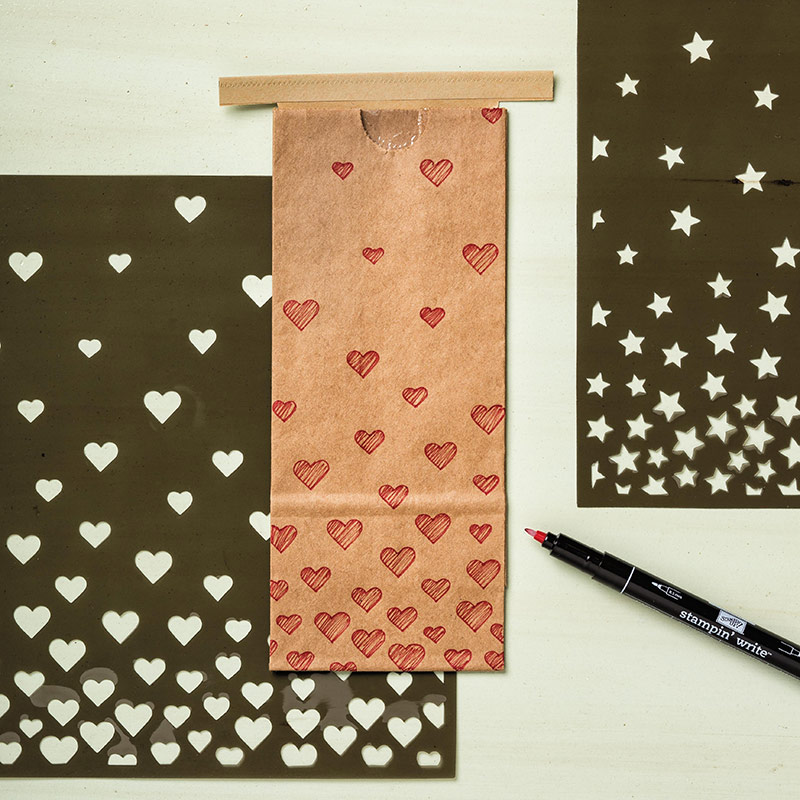 | Hearts & Stars Decorative Masks Item # 133777 Regular Price: $3.00 US/$3.75 CAN Discounted Price: $2.25 US/$2.81 CAN |
I'm a particular fan of the Metal Rimmed Pearls and the Seam Binding Ribbon (so fresh in Wild Wasabi!).
Want to take advantage of these super prices? Order here.
Subscribe to:
Posts (Atom)