
This is so pretty from the front, but wait:

Can you see the layers?
I started with a piece of Lovely Lipstick (on the retiring list 😲) that is 4-1/14" x 6-1/2", and scored at 5-1/2", so there is a 1" flap at the top. To the back side of this flap, I attached a 4-1/4" x 5-1/2" piece of Window Sheet.

I then took another piece of Lovely Lipstick, 4-1/4" x 2", scored it down the middle and folded it. With the score line at the bottom, I added flowers (cut from the Sending Flowers die) in between, then adhered it to the Window Sheet with Tear & Tape adhesive.

I just needed my greeting (from Butterfly Wishes) on the front.
Then for the inside:

I cut a piece of Designer Series Paper (Dressed to Impress) at 4" x 5-3/4" and scored it at 1/2". This was attached to the Whisper White cardstock and then adhered to the inside of the card.
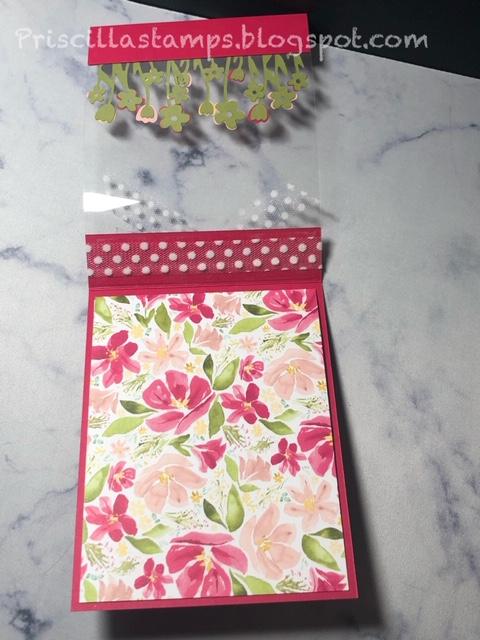
So it looks like there are 3 layers:

I just tied a bow of Polka Dot Tulle ribbon around the top and my card was done! I love the 3-D effect!
Are you ready for the new Annual Catalog? Ordering starts on June 3rd, and there is a similar stamp to the Sending Flowers dies, Field of Flowers, with the Confetti Flowers punch. I expect I'll be making more Window Sheet cards. How about you?
Product List


 Designer Series Paper")

 Polka Dot Tulle Ribbon")


No comments:
Post a Comment