Showing posts with label Watercolor Wonder DSP. Show all posts

Thursday, May 15, 2014

Another Thank You!

Here's another Thank You card that I made for one of my secretaries at work:

Kristina always does a "bang up" job for me, coordinating meetings, creating report templates, and ensuring I have everything I need.  So when we celebrated Administrative Professionals Day a few weeks ago, I created a special card to say, "thanks!".


I started with a piece of Watercolor Wonder Designer Series Paper, on which I stamped and embossed the BIG "Thank You" from Another Thank You (photopolymer set that will be released in the NEW 2014-15 Catalog).  It was stamped in Versamark, and embossed in Tangerine Tango (soon to be retired!).  This layer was adhered to a piece of Tangerine Tango, and I punched some holes through which to tie the Daffodil Delight Seam Binding Ribbon into a bow.

Next I stamped the blossoms from Stippled Blossoms (what a beautiful set!), using Daffodil Delight and Tangerine Tango inks (2-step stamping).  These were "fussy cut", and I repeated with the leaves in Pear Pizzazz and Gumball Green (also on the retiring list!).


I layered the flowers on the card using Stampin' Dimensionals, and some Pearls Basic Jewels were added to the center.

A pretty way to to say "thanks" to a special person.

All supplies can be purchased here.

Let's get creating!

Sunday, March 30, 2014

Better Get Better

Ever need a Get Well Card?  I did...
I wanted something cheery, without being too cutesy.  So pulling out my beautiful Watercolor Wonder Designer Series Paper helped me choose a color palette that was just what I was looking for. 
A Crisp Cantaloupe card base was cut 5-1/4" x 8-1/2"  and scored on the long side at 4-1/4".  I then layered on a piece of Island Indigo which took a quick trip through the Big Shot with my Perfect Polka Dots Embossing Folder.  The Watercolor Wonder DSP came next, but was cut about an inch narrower than the Island Indigo, leaving a border on the left.  Before gluing this layer, I inserted a few Banner Blast images, punched with the Banner Punch (these are FREE through Monday, when Sale-A-Bration ends). 
And to highlight it all, I ran a strip of Island Indigo through the Big Shot with the Finishing Touches Edgelits.

The sentiment from Perfect Pennants was stamped in Island Indigo Ink on Cardstock Vellum and cut using the Banner Framelits dies; a second, larger one was also cut from Vellum and embossed with Perfect Polka Dots.  Some Island Indigo Bakers Twine was wrapped three times and tied in a bow,and this was all added to the card front.
I  jazzed up the envelope by adding matching DSP.

Wouldn't this brighten your day?

All items used can be purchased here.

Let's get creating!


Tuesday, March 11, 2014

Happy Birthday, Holly!

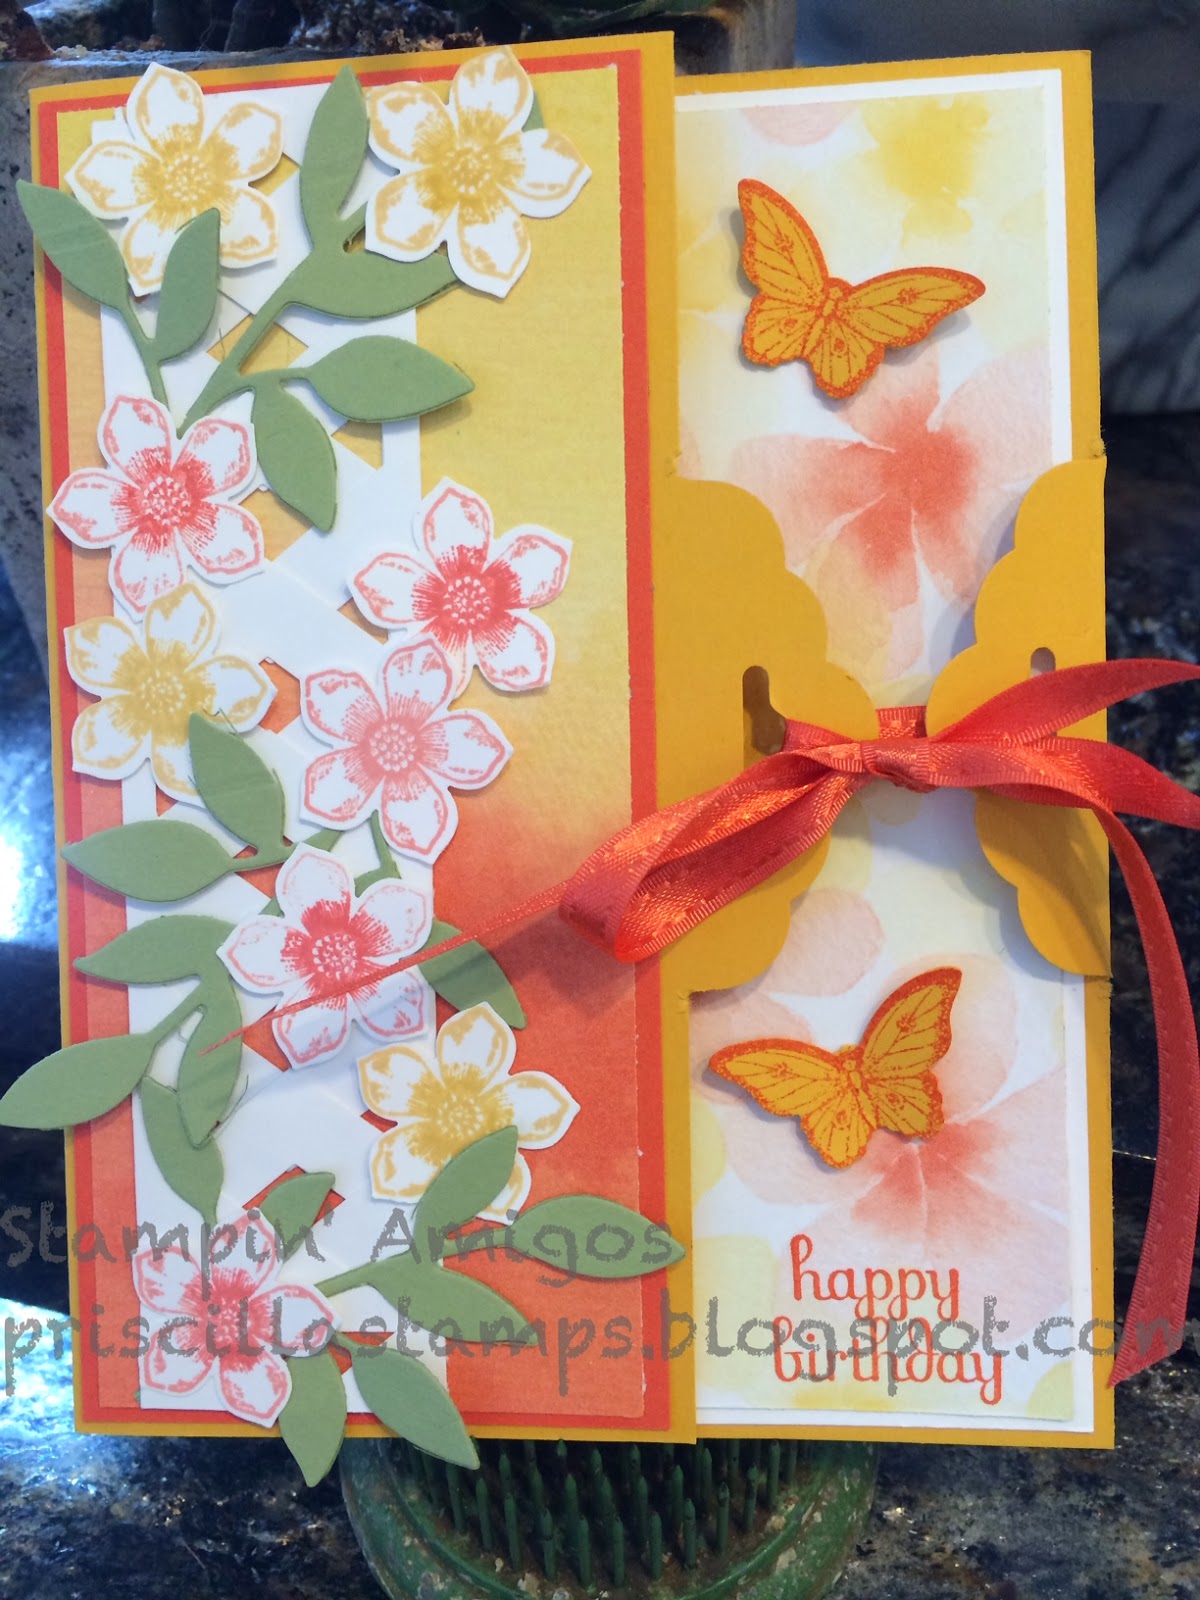
Today is my sister's birthday!  More than a sister, she's my best friend, so here's a special card for her:
Lots of punches going on here (and no, I have never punched my sister, even though there were days when we shared a bedroom that I sure wanted to! *grin*). 
This started with the Chevron Punch, with which I made the lattice for the flowers.
Punch one row of chevrons, then a second one.  Layer them over each other, and "push" the top piece through the bottom layer, overlapping the points of the chevrons and creating a lattice.  It's fun to slide the two pieces back and forth, widening the lattice until you get the look that's just right for your card. 

The lattice was lightly (but securely) adhered to a layer of Watercolor Wonder Designer Series Paper from the Occasions Catalog.  I then cut several Little Leaves from the sizzlet and stuck them through the lattice.  Next came a lot of flowers from Petite Petals, stamped in Tangerine Tango, Crisp Cantaloup and Daffodil Delight, and punched with the Petite Petals Punch.  These were adhered with Mini Glue Dots.  This entire layer was adhered to another layer of Tangerine Tango.

Now the fun part of this card is the ribbon closure. 
This is made using the Scallop Tag Topper Punch.  It's easy to do, first making a light tick mark at the 1" mark, then sliding your card stock (Crushed Curry used here) all the way into the punch, using the tick mark as a guide at the edge of the punch.  Punch, and flip your card stock over; repeat.  Remove the excess tabs created when you punch, and score along the base of one of the scallops, then score your card at 4-1/4".  Easy peasy!  And makes such an elegant closure.

Another piece of coordinating Watercolor Wonder DSP (with flowers that go with my little punched ones) was layered on the Whisper White of the inside of the card, and some small butterflies were stamped (Papillon Potpourri) in Tangerine Tango on Crushed Curry, and punched with the Bitty Butterfly punch.  These are adhered with Mini glue dots. 
Enjoy, from Simply Celebrate, is stamped in Tangerine Tango on the inside, and the card is closed with a piece of vintage Tangerine Tango ribbon. 

An elegant, beautiful, and fun card for my special sis...Happy Birthday, Holly!

All products used can be purchased at my on-line store, here.

Let's get creating!


Monday, February 3, 2014

January Card Club Samples

Each month I hold my Card Club on three evenings.  We make 4 cards each month, and the themes vary.

Here are our January cards:

This uses Designer Series Paper from the Sale-A-Bration catalog--what fun!  Something FREE!

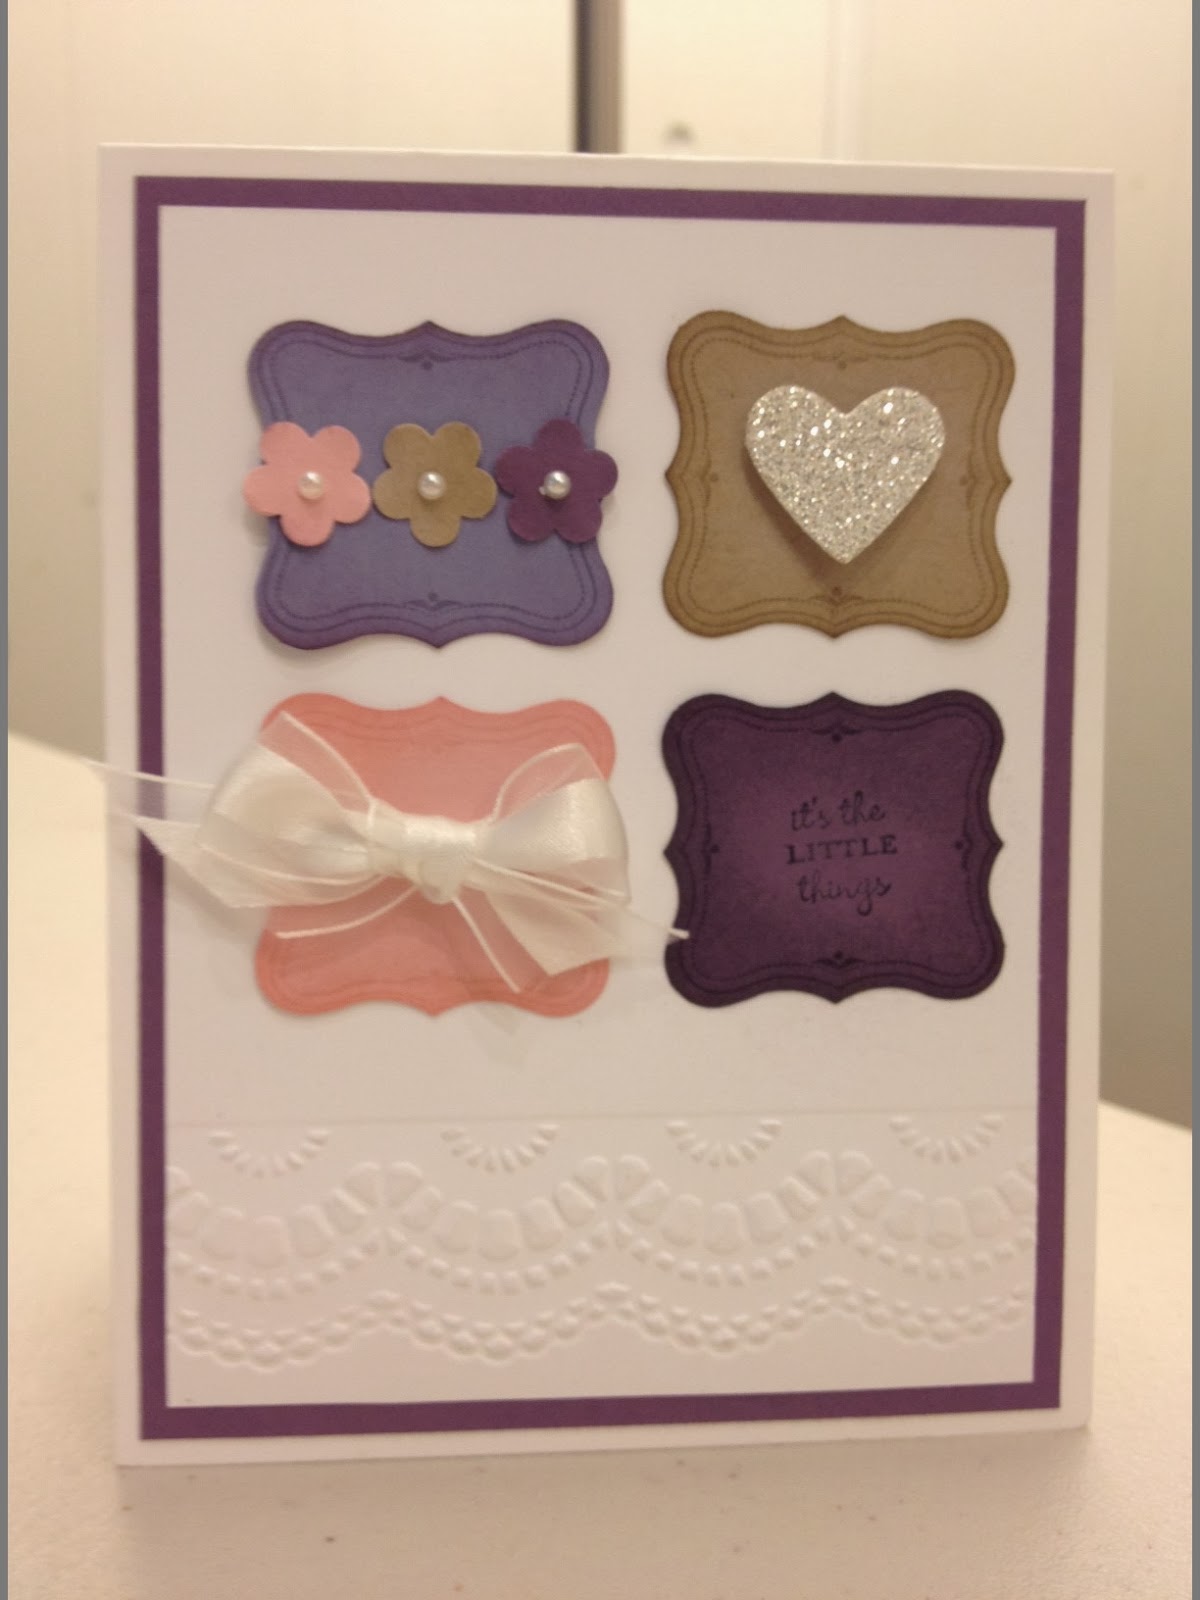
Card #2:
A special border and four decorated mini-labels.

Next up:
The card features the beautiful Watercolor Wonder Designer Series Paper, along with the large framelit from the On Film Framelit dies, Petite Petals and punch, and a few banners from the Banners Framelit dies. 

And finally, a Valentine:
This was so much fun to make, and I used everything but the kitchen sink!  Love the Gold Foil Sheets embossed with our embossing folders, and the beautiful Fancy Foil Designer Vellum.

Wanna join us?  Send me an e-mail, and I'll add you to our mailing list.  Don't live in Northern California?  No problem; I can do the class by mail.  Can't wait to hear from you!

And let's get creating!

Monday, December 30, 2013

Sneak Peek!

Can you believe that the year 2013 is just about over?  I can't!  Still remembering the events of this year, and thinking that it was only yesterday...But it's time for "in with the NEW!" and Stampin' UP has us covered.  Our new Occasions Catalog begins January 2, and what a gem!  (think BLING!)  You'll have a great time looking at all the new goodies, and if you're like me, you'll have trouble deciding what to get first.

So I made a few decisions, and here's a card using many of my new things:
 I started with a piece of Crisp Cantaloupe cardstock, measuring 8-1/2" x 5-1/2" and folded in half.  The Perfect Chevron background stamp was stamped, using Crisp Cantaloupe ink.
A piece of Tangerine Tango was run through the Big Shot with the Stripes embossing folder.  Another sneak peek--I used the banner punch (yes, you read that right--a BANNER PUNCH will be available during Sale-a-Bration at the end of January; this is when you can get FREE stuff!  Stay tuned for details!) to punch out little banners from the new Watercolor Wonder Designer Series Paper, and adhered them to the card using Mini Glue Dots.  A sliver of Silver Glimmer Paper gave the card a bit of pizzazz!
Another piece of Watercolor DSP was cut using the new Banner Framelits and adhered with a piece of washi tape (left over from the Holiday catalog--Halloween!).  Then I stamped the new Just Sayin' stamp in Crisp Cantaloupe, snipped it out using my trusty Paper Snips, and added it to an Island Indigo layer cut from the Word Bubbles framelits...what fun!

Can't wait to show you more new toys!

Let's get creating!