Tuesday, November 17, 2015

Get Them Before They're Gone!


Can you believe it's almost time for the Holiday Catalog to retire?  What?  I know, that's SO crazy!
But retirement time is on it's way, so if there is something in there that you wanted, don't delay...now is the time to complete your wish list.

I'm including a link to the retiring list; check it often to see if your favorites are still available and be sure to order soon!

All products can be purchased here.

Monday, November 16, 2015

A Card Club Sneak Peek

If you attend my monthly Card Clubs and want to be surprised, stop reading here.  I'm going to show you one more card from my Class that Didn't Happen; when I showed this card to my club members, they all asked to make one.  So this will be one of my December Card Club cards:


Hmmm, black and silver for a holiday card?  I took a risk with this card, and everyone loved it.

Again, this card only uses Your Presents for stamps.  There's a Basic Black base (5-1/2" x 8-1/2") with a layer of Smoky Slate (4" x 5-1/4").  Then I took a piece of Whisper White (3-3/4" x 5") and started stamping the solid circle stamp in Smoky Slate ink, stamping off once or twice as I stamped.

A strip of Holidays Fancy Foil Designer Vellum was punched with the Banner Triple Punch and I added a (retired) gem (but  the Winter Wonderland Embellishments, available in the current Holiday Catalog, would make a perfect substitution), and the sentiment is cut using the Wonderful Wreath Framelits and Silver Foil Sheets.


I colored a few Rhinestone Basic Jewels with a black Sharpie marker and finished off my card.

Attend next month's class and you'll be making one of these.

Products can be purchased here.


Built for Free Using: My Stampin Blog

Sunday, November 15, 2015

More Joy, and a Fancy Fold

If you've been following my blog, you know about my Class that Didn't Happen.  I've been sharing my creative endeavors from that class and here's another.

Using only the Your Presents stamp set, I had designed a class-worth of cards.  This is the one with the fancy fold.

There is one stamp in the set that is a striped rectangle.  I stamped this on Whisper White card stock, then turned my paper 90 degrees and stamped it again, creating this wonderful plaid present.  A skinny strip of Real Red card stock with a bow of Whisper White Bakers Twine finished it off, and it was placed on my card with Dimensionals.

The base of the card is a piece of 4-1/4" x 5-1/2" Real Red card stock.  The next layer is Crumb Cake with a piece of Merry Moments Designer Series Paper Stack DSP.  "Merry" was cut using the Christmas Greetings Thinlits dies and Red Glimmer Paper.

Now this card is more than meets the eye; look what happens next:

and then:


Yeah, this is a triple-layer card.  The Crumb Cake layer is 5" x 8" (with an oval cut on the front) and is mounted on the Real Red base.  Then there is a layer of Whisper White, 4-3/4" x 7-3/4", which is mounted "backwards" on top of the Crumb Cake layer.

The card fits in a standard-sized envelope and is flat for mailing.  But what a great surprise as the recipient opens it--there is lots of room for sending good wishes!

So what do you think?  Wouldn't you love to get a card like this?  Leave me a comment and tell me about fancy fold cards you've made.

All products can be purchased here.

Built for Free Using: My Stampin Blog

Saturday, November 14, 2015

Joy

Continuing on the saga of my "class that never happened"...(read about it here)...I have another Christmas card to show you that only used the Your Presents stamp set.  This was super easy, and is extremely duplicatable if you need lots of holiday cards:

All you need is one color of ink (plus black), one piece of cardstock (colored) along with your base card and some scraps of designer series paper.

I started with a piece of Whisper White Thick Cardstock (5-1/2" x 8-1/2", scored and folded in half).  I stamped the word "joy" from the set, using Archival Basic Black ink and then stamped three of the solid circles with Cherry Cobbler ink.

A frame of Mossy Meadow was cut and adhered, and then I simply punched my Season of Cheer DSP using a 1-3/8" circle punch.  These are popped up on Dimensionals.

Easy peasy and each card will be unique, depending on your colors and the DSP you choose.

Happy stampin'!

All products can be purchased here.

Built for Free Using: My Stampin Blog

Thursday, November 12, 2015

The Class that Didn't Happen

Sometimes life gets in the way...

Those of you who follow my blog know about my recent heartache - my youngest son's family are in the process of moving 3000 miles away, to Maryland.  They left today.  And I already miss my two grandsons (fortunately I still have one more in California, but he lives 400 miles away in San Diego).
Here are two photos from today's journey:

My daughter-in-law, Sarah, with Ethan in the back (with Kaiya).

And Jacob:


But I digress...

I planned some Christmas Card classes over the past 2 months.  The intent was to show the versatility of one stamp set with one or two packs of Designer Series Paper.  Last month I had planned to use Your Presents with my favoritest (is that a word?) vellum of all time--Holidays Fancy Foil Designer Vellum along with the Merry Moments Designer Series Paper Stack.  So I worked at a feverish pace to create four beautiful cards, ordered the supplies and then...life got in the way.  I ended up cancelling the class and was left with (in my humble opinion) four very pretty cards that no one will see.

Until today.

I decided it was time to get over my pain of squashed creativity and feature my work on my blog.  So here is the first of 4 that I'll show over the next few days.

Starting with the Whisper White Thick Cardstock base, there are three more layers:  Cherry Cobbler, Mossy Meadow, and Merry Moments Designer Series Paper Stack.  


Using the stamp set, I stamped "joy" in Cherry Cobbler Ink and two rows of the Christmas trees in Mossy Meadow (stamped off once).  This was punched using my 2-1/2" Circle Punch and then I cut a slightly larger circle with my Circle Framelits.  I hand cut the little bobbly thing that holds the ornaments (what IS this thing called, anyway?) and then I added a bow from the Mini Treat Bag Thinlits.

I used the Banner Triple Punch to make a DSP and a Mossy Meadow banner, and the top layer is some really sparkly 3/8" Glitter Ribbon.  (This is MUCH prettier in real life--just couldn't quite get a good photo).

I finished with two Home for Christmas Enamel Dots.

Come back tomorrow to see how I used this stamp set in a completely different way

All products can be purchased here.


Built for Free Using: My Stampin Blog

Wednesday, November 11, 2015

Weekly Deals

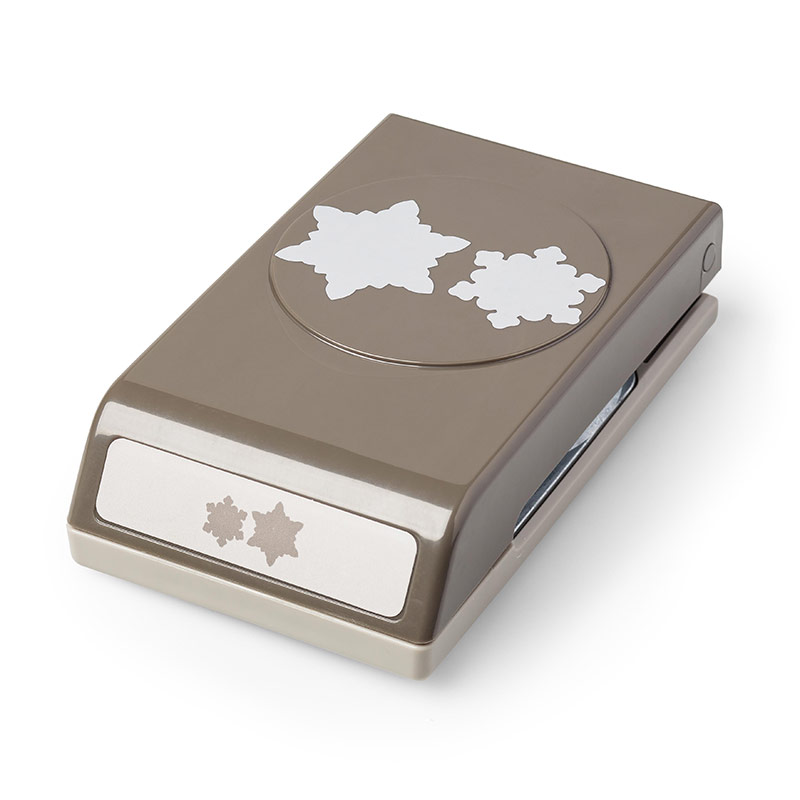
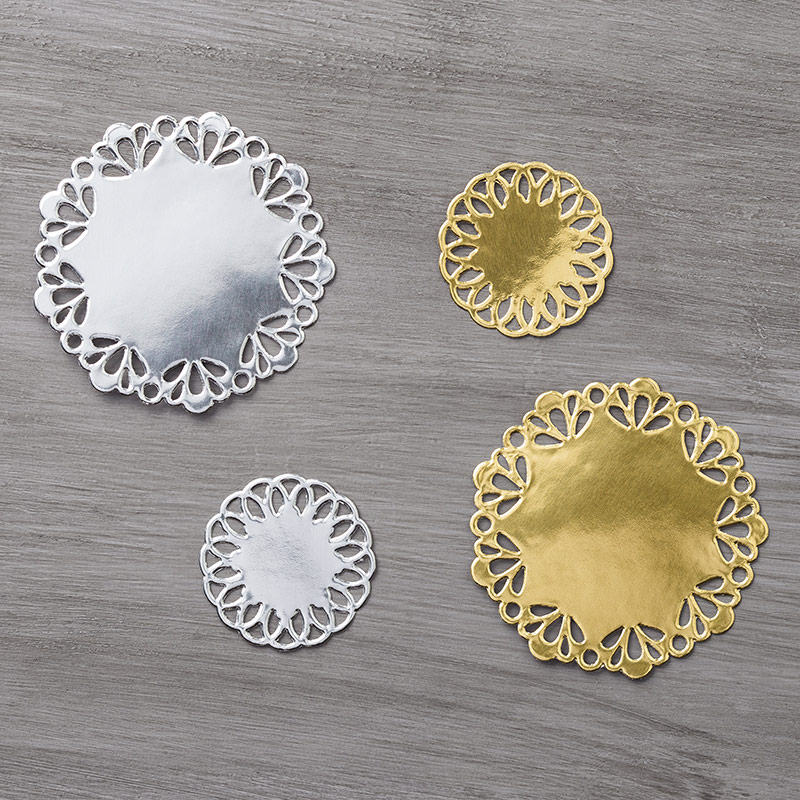
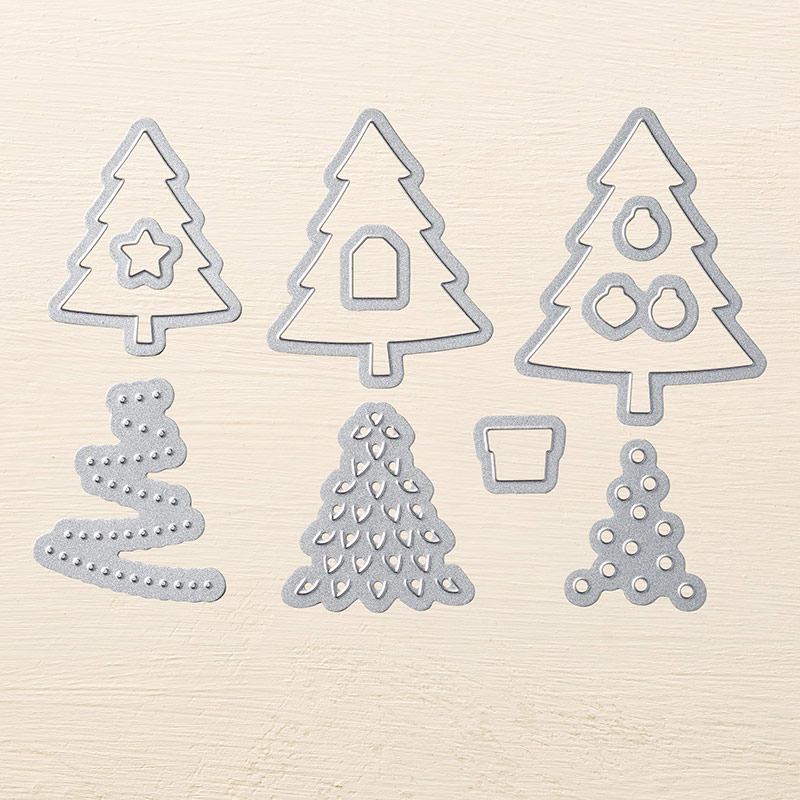
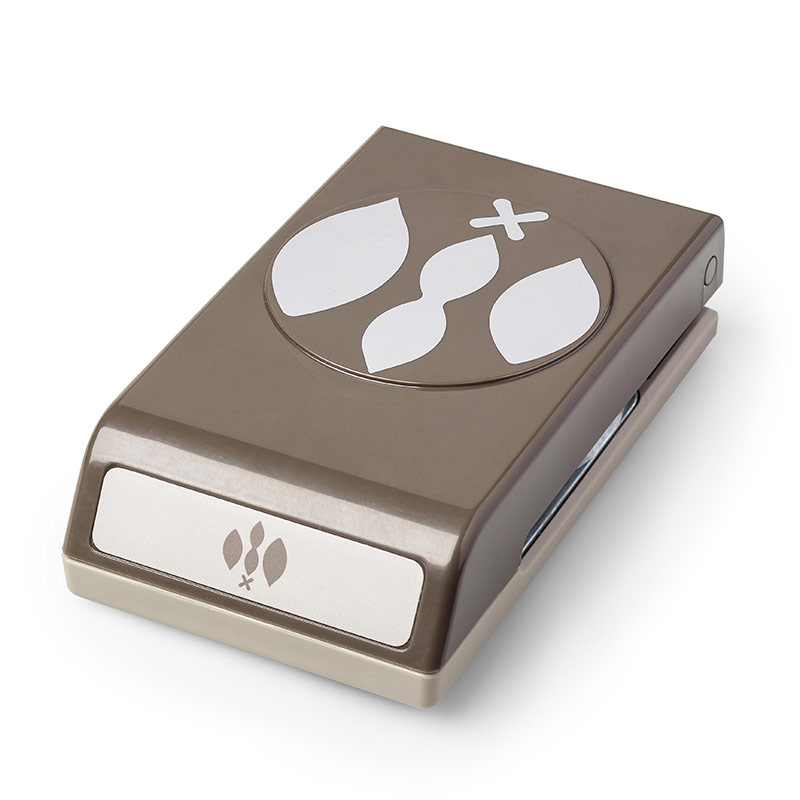
Have you been drooling over the latest Holiday Catalog?  Well here are a few deals that will activate your salivary glands even more...check out the latest Weekly Deals:


139680G


Snow Flurry Punch Item # 139680
Regular Price: $18.00 US/$22.00 CAN
Discounted Price: $13.50 US/$16.50 CAN


Metallic Foil Doilies Item # 138392
Regular Price: $4.00 US/$5.00 CAN
Discounted Price: $3.00 US/$3.75 CAN


Perfect Pines Framelits Dies Item # 139665
Regular Price: $27.00 US/$33.00 CAN
Discounted Price: $20.25 US/$24.75 CAN


Festive Flower Builder Punch Item # 139682
Regular Price: $18.00 US/$22.00 CAN
Discounted Price: $13.50

All products can be purchased here.  But don't wait--supplies at discounted prices are limited.

Tuesday, November 10, 2015

One Layout, Two Cards

I love it when see a great layout!  Today I'm going to share one layout, from which I created two cards.  And although they are basically the same, you'll note that they also look totally different.  Take a look:


I started with a pack of Season of Cheer Designer Series Paper.   The yummy prints scream Christmas!  So I chose just two pieces and with a little careful cutting, was able to make these cards.

My card base is a standard 4-1/4" x 11", scored and folded in half.  I then took the DSP and cut a 3-3/4" x 5" piece (I wanted to preserve the wider cardstock edge, so this is a bit smaller than my usual layers).  Measuring 1" down from one side, and 1" UP from the other side, I drew a light pencil line, then cut my DSP on the diagonal.  Then I simply flipped the bottom of my paper--the beauty of DSP is that it is printed on both sides, and the colors of the pack all coordinate.  It's hard to get it wrong!

After adhering my DSP on my card base, I took another piece of cardstock (in this case, Mossy Meadow) and cut it 1" by 5-1/2", then carefully snipped the ends to match up with the DSP.


Using the fabulous Christmas Greetings Thinlits Dies, I cut "merry" from Dazzling Diamonds Glimmer Paper.

All that was needed was a simple embellishment--two Corrugated Paper stars were cut with the Star Framelits, I popped the small one up with a Dimensional and added a pretty Iced Rhinestone Embellishment - DONE!


These would be simple cards to mass-produce and there are lots of coordinating patterns in this paper pack.  Give it a try and see if you can make your cards look different than mine!


All products can be purchased here.

Built for Free Using: My Stampin Blog