Thursday, December 31, 2015

Something Old, Something New (but NOT something for a wedding)

Confession time:  I have much more crafting stuff than I will EVER use!

Can anyone relate?

Somehow, in my 10+ years as a Stampin' UP! demonstrator, I have managed to accumulate more than I (ahem) "need".  When I first started stamping, I didn't have a huge stash; when I went to a craft store (my absolute fav was a scrapbook store on Cape Cod, Colorful Creations, which, sadly, is no longer there) I couldn't help myself when I saw a cute stamp or some fabulous paper.  I would take classes and buy whatever materials we were using.

But since I was also trying to start my business, I wasn't able to use these things because I couldn't sell them...and I needed to make lots of samples so I only used my Stampin' UP! goodies.

Over the years, these "contraband" stamps and accessories started to get pushed further and further back in my drawers.  And took up valuable space for my Stampin' UP! stuff! 

Enough!  I've decided to start pulling out all my stash and either use it or get rid of it (is that a New Year's Resolution?).  I started the other night with one shelf.  And what did I find?  Some wonderful Stampin' UP! card bases that were part of a Sale-a-Bration offering two years ago.  So I decided to use it:


 Do you recognize that dotted background?  I don't even remember the name of the item, but I really liked those card bases.  There are gold dots along with the colored ones.
And I need a "golden birthday" card for my niece, who is turning 23 on January 23rd.  So how perfect is this?

I started by cutting the original (dotted) card base apart, using just one side.  Then I took the wonderful new dies, Large Numbers Framelits Dies, (**sneak peek**) and cut out my numbers, using Gold Foil Sheets.  So shiny!

Ok, more confessions...the Spellbinder labels are NOT Stampin' UP! dies.  I had purchased those long ago, before we even had a Big Shot to sell, and they've been languishing ever since--but they were perfect for THIS card!  And, oh yeah, one more thing...those gold beads?  Yeah, not SU either; but if I had a gold sharpie, I could have done the same with our Pearls Basic Jewels!  There--that makes me feel a little less guilty!

Anyway, back to the card:

The numbers were mounted on Basic Black, which was mounted to Bermuda Bay; I then scrunched up some Gold Cord Trim and then stuck it all to that marvelous dotted base with Dimensionals.

It's all added to a sheet of Gold Foil, and then a Basic Black card base.  The final touch is some gold stars.

The motto of this very long story?  USE YOUR STUFF!  You bought it because you loved it--so use it!  And go create something pretty!  Then tell me what you did; can't wait to hear!

Happy New Year!  May you all have a 2016 of JOY, HEALTH, HAPPINESS and SUCCESS!   And thanks for stopping by today!


Built for Free Using: My Stampin Blog


Tuesday, December 29, 2015

Weekly Deals

Well the Christmas holiday is now Christmas past and we're looking forward to a new year.  While you're waiting, check out these Weekly Deals:

134225G


Amazing Birthday Wood-Mount Stamp Set Item # 134225
Regular Price: $29.00 US/$36.00 CAN
Discounted Price: $21.75 US/$27.00 CAN


Fun Frames Textured Impressions Embossing Folders Item # 133727
Regular Price: $8.50 US/$10.50 CAN
Discounted Price: $6.38 US/$7.88 CAN


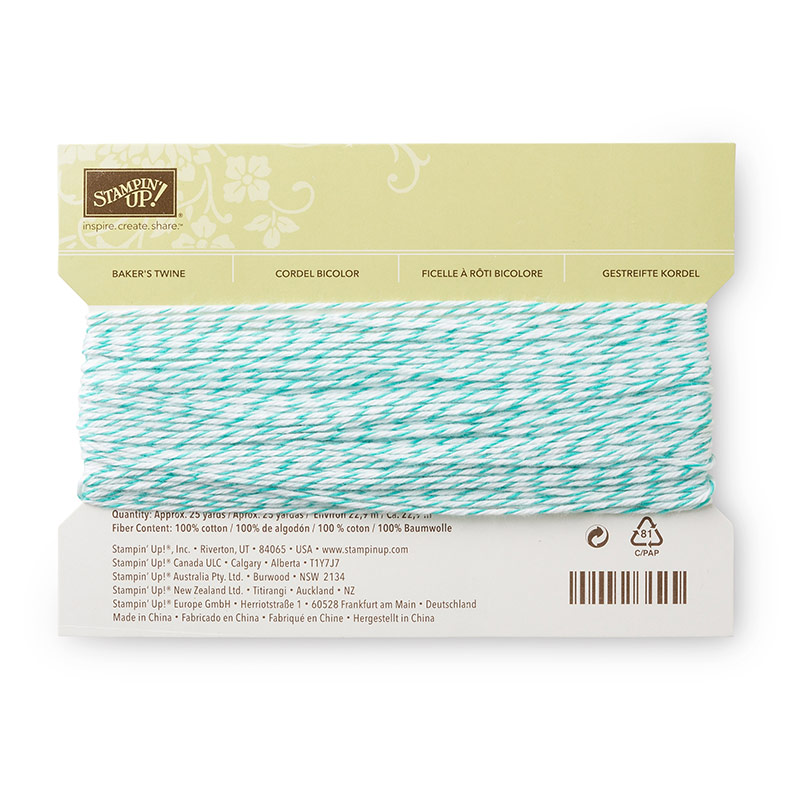
Bermuda Bay Baker's Twine Item # 134575
Regular Price: $3.00 US/$3.75 CAN
Discounted Price: $2.25 US/$2.81 CAN


Ornate Tag Topper Punch Item # 137416
Regular Price: $23.00 US/$28.00 CAN
Discounted Price: $17.25 US/$21.00 CAN


All products can be purchased here.

Wednesday, December 23, 2015

A Christmas Wish

One last holiday card to wish all my friends and blog readers a Merry Christmas:

We made this at a special, "Christmas Cards Only" class earlier this month.  It was a favorite, due to the peaceful, calm colors and lots of silver.


The branches and sentiment from the Embellished Ornaments set were stamped in Versamark ink and heat-embossed with Silver Embossing Powder.

Using a mask (I cut the outline of the ornament using the Delicate Ornament Thinlits Dies on a piece of Whisper White Thick Cardstock, which we laid over our card front), we sponged Soft Sky and Lost Lagoon inks through the mask.  When the mask was removed it left a beautiful background for the silver cut-out ornament.

 
The ornament was cut out using Silver Foil paper, and adhered carefully using tiny drops of glue from the Fine Tip Glue Pen.


Then we mounted the white layer on a thin layer of Lost Lagoon, and to our card base of Soft Sky.  Soft and serene...

 Wishing you all a very happy holiday!


Built for Free Using: My Stampin Blog


Tuesday, December 22, 2015

How to Give a Gift Card

Here's a gift card holder that doesn't quite look like a gift card holder:

My husband bought a larger-than-usual gift card and it wouldn't fit in my normal packaging.  So I used the Mini Treat Bag Thinlits dies as inspiration to create my own bag (without using a die!  What?  Really?)

Using the Merry Moments Paper Pack, I took two sheets of the 6" x 6" paper.  I needed a bag that was 4" wide, so I scored 1" from either edge on one of the sheets, and then cut the other piece to 4".  I also trimmed an inch off the bottom of the 4" sheet.  Then I ran both of them through my paper trimmer with the Small Scallop Rotary Cutting Blade to make the little scalloped top.

I simply folded in the two scored sides of the larger piece of paper, and then adhered the smaller piece to the back.  After folding up the flap it became a bag!  Then I just had to decorate.

Using the Delicate Ornament Thinlits Die, I cut a Silver Foil Ornament and then a Cherry Cobbler embellished one, and layered them on the front.  The "merry" is from the Christmas Greetings die, also cut in Silver Foil. 

A few banners (I used the Triple Banner Punch) and some Silver Sequins were added, and the gift bag was done.

But I told my husband to please buy normal-sized gift cards from now on--so much easier to use the Mini Treat Bag Thinlits Dies!

So what do you think--cute?

Products can be ordered here.


Built for Free Using: My Stampin Blog

Monday, December 21, 2015

Pretty Wrapping

I held my team meeting two weeks ago and got to award two of my downline members for some recent achievements. 

Judy reached a new level, Senior Associate, and I made her a little bag to hold some Glitter ribbon:

I used the Season of Cheer and the Gift Bag Punch Board, then topped it off with a Tea Lace Paper Doily and a Metallic Foil Doily.
I punched a gold bow using the Gold Foil Sheets and Bow Builder Punch, and added a sentiment cut out with the Tags and Labels Framelits.

Congrats to Judy!

Michelle was not able to come, but she had her highest sales ever; her gift was wrapped in a Tag a Bag Gift Box:
Adding a piece of Season of Cheer DSP over the top (and inside the plastic sleeve) really dresses this up.  It's tied with some Organza Ribbon and embellished with Silver 1/8" ribbon and Silver Sequins.  The tag is a sneak peek at a sentiment from Suite Sayings, coming in January.  It was stamped in Soft Sky and Pear Pizzazz and added to a tag of Silver Foil.  Sparkly!

Fun and easy ideas to dress up your holiday gifts!


Built for Free Using: My Stampin Blog

Saturday, December 19, 2015

A New Paper Pumpkin for a New Year

December's Paper Pumpkin is arriving in mail boxes now, and will be perfect for filling those hours after the busy holidays.  See what you could be making:


C'mon!  Get your crafty on!  Join Paper Pumpkin today--click on the link to the right!

Wednesday, December 16, 2015

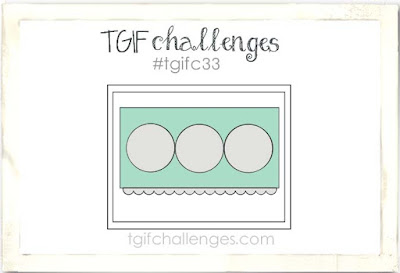
Sneak Peek and a TGIF Challenge (#TGIFC33)

I was playing with some of my new toys and a sketch that I had seen popped into my head.  So I 
decided to play along...

Here is the challenge: 
http://tgifchallenges.blogspot.com/2015/12/tgifc33.html


And here is my card:

These items are from the Occasions Catalog, to be released January 5 (want to get your things early?  Join Stampin' UP! now and you'll get to receive new goodies before anyone else!).  

Party Wishes is a stamp set that is part of a wonderful bundle--It's My Party.  The balloons, candle and cupcake have matching punches (yea!) and there is a fabulous Designer Series Paper Stack to match!

My card base is Whisper White Thick Cardstock.  I first adhered a piece of the DSP to Mint Macaron and then punched my three holes using a 1-3/8" circle punch.  I positioned the layer over my card base and lightly traced the circles with a pencil.  This allowed me to position my balloon strings in the proper place.

The balloons, cupcake, candle and "make a wish" were stamped, punched and positioned on my card base, and my Mint Macaron layer was adhered over the top with Dimensionals.

But there was just something missing...too much space between my circles and the bottom of the card...I know!

"Hooray" from a Sale-a-Bration (FREE) set called Perfect Pairings was the perfect filler, along with the cute Melon Mambo It's My Party Enamel Dots

So there you have it--a Sneak Peek of new items from both the Occasions and Sale-a-Bration catalogs AND a sketch challenge--what do you think?  

Need a new Occasions Catalog?  If you are a regular customer of mine, I have one for you; if you do not have a Stampin' UP! demonstrator, I'd love to help!