Showing posts with label So Sincere. Show all posts

Monday, January 6, 2025

Sneak Peek - Terrific Toadstools

Tomorrow is the day when the new January - April 2025 Mini Catalog will be live and available for ordering your favorite products.  

This week I'll be showcasing a few of the wonderful new stamp sets that are coming, starting with Terrific Toadstools.


 Eek!  Can a stamp be any cuter?  

Or maybe "cute" isn't the right word...I'm not a fan of mushrooms, but these little toadstools reminded me of when I was 9 years old and dancing in a ballet recital, dressed as a mushroom in a red wide-brimmed hat with white polka dots - it was a story-book themed recital and I was a mushroom in the forest!  

Anyway, I digress.  

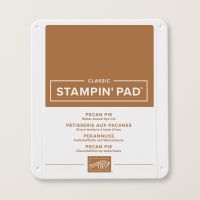
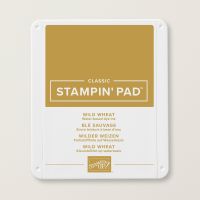
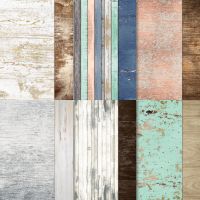
I needed a birthday card for a guy, my niece's husband.  I thought the woodsy feel of mushrooms and wood planks would work, and I love the outcome.  The card base is Wild Wheat, with two strips of Country Woods DSP, and a Nested Essential die-cut label in Pecan Pie.  


I stamped some "dirt" from the stamp set across the bottom of the slightly smaller Nested Essential die cut in white, then added some toadstools.  The larger ones were punched with the coordinating punch while the smaller ones were stamped directly on the label.  

And inside:

I couldn't resist a little pun!


The Terrific Toadstools bundle is coming soon, and if you purchase it, be sure to add a few more items to your order so you can get the Toadstool Gardens DSP pack (48 sheets of 6" x 6" paper in gorgeous colors) absolutely FREE during Sale-a-Bration!  


Product List

Wednesday, April 24, 2024

One More Scenic Card

I promised you an alternative to the scenic card I showed on Monday.   So here is a way to hide your greeting until the card is opened:


Once again, this card has a card base measuring 5-1/2" x 8-1/2", scored at 2-1/8" and 4-1/4".

The Designer Series Paper is 5-1/4" x 6" - trim just 3/4" off either the top or the bottom of the paper.

Then add your first piece of DSP to the smaller column on the left of the card.  

Next add the middle piece of DSP to the other small column.

Now here is where the difference is from the card I showed on Monday:


Add a 2" x 5-1/4" piece of Basic White cardstock next to the 4-1/4" score line, and then add your last piece of DSP.  

Fold the card in half, and then fold the 2-1/8" piece BACKWARDS over the front of the card.  This hides the white greeting piece inside until the card is opened, and still allows you to use the entire piece of DSP.

Find a gorgeous piece of designer paper, and create your own!  


Product List