Showing posts with label Circle Sayings. Show all posts

Friday, September 1, 2023

A Fractured Card with Paper Piecing

 I always like to "teach" something at my monthly Sunday Crafternoon card club meetings.  Whether it's a fun fold, or a new technique, I want the attendees to leave knowing that they learned something new.  

So at my August meeting, I decided to go with the "Fractured Card" technique.  Have you seen this?  You probably have, although you may not recognize the name, but these cards are all over the internet right now.  


I'm not exactly sure where the name "fractured" came from, but I suspect it's because the card is divided into sections.  It could be made by cutting your background paper into pieces, but as they are all different sizes, this would be difficult.  

Instead, it's a pretty easy process.  Starting with a square cut-out in the middle of the patterned paper (Stylish Shapes dies), I then cut a slightly smaller square in the center of the first square on a piece of Basic White cardstock of the same size.  It's easiest to layer the patterned paper (with the hole already cut out) on top of the white piece; place the smaller die in the center of the first hole and then cut it out.  

Adhere the two pieces together, with the smaller hole under the larger one, leaving a little border.


Add the strips, which are cut 3/16" wide, letting them run off the edge of the paper.  

Now, did you notice the cute cupcake in the center?  How about that cupcake paper?  It was done with paper piecing.  We used a piece of the patterned paper, stamping the cupcake on it and fussy-cutting the cupcake paper.  This was then glued over a stamped-and-fussy-cut image of the cupcake, covering the bottom and adding a delightful accent to our cupcake.


We finished our card with "Celebrate" in coordinating colors (here we used Lost Lagoon and Pool Party), cut with dies and popped up on Dimensionals.  


So there you have it!  A Fractured Card with Paper Piecing!  


Just a few more days til the September - December 2023 Mini Catalog is available!  What is on your Wish List?  Get ready to order on September 6th!


Product List

Wednesday, June 14, 2023

Am I Die Challenged?

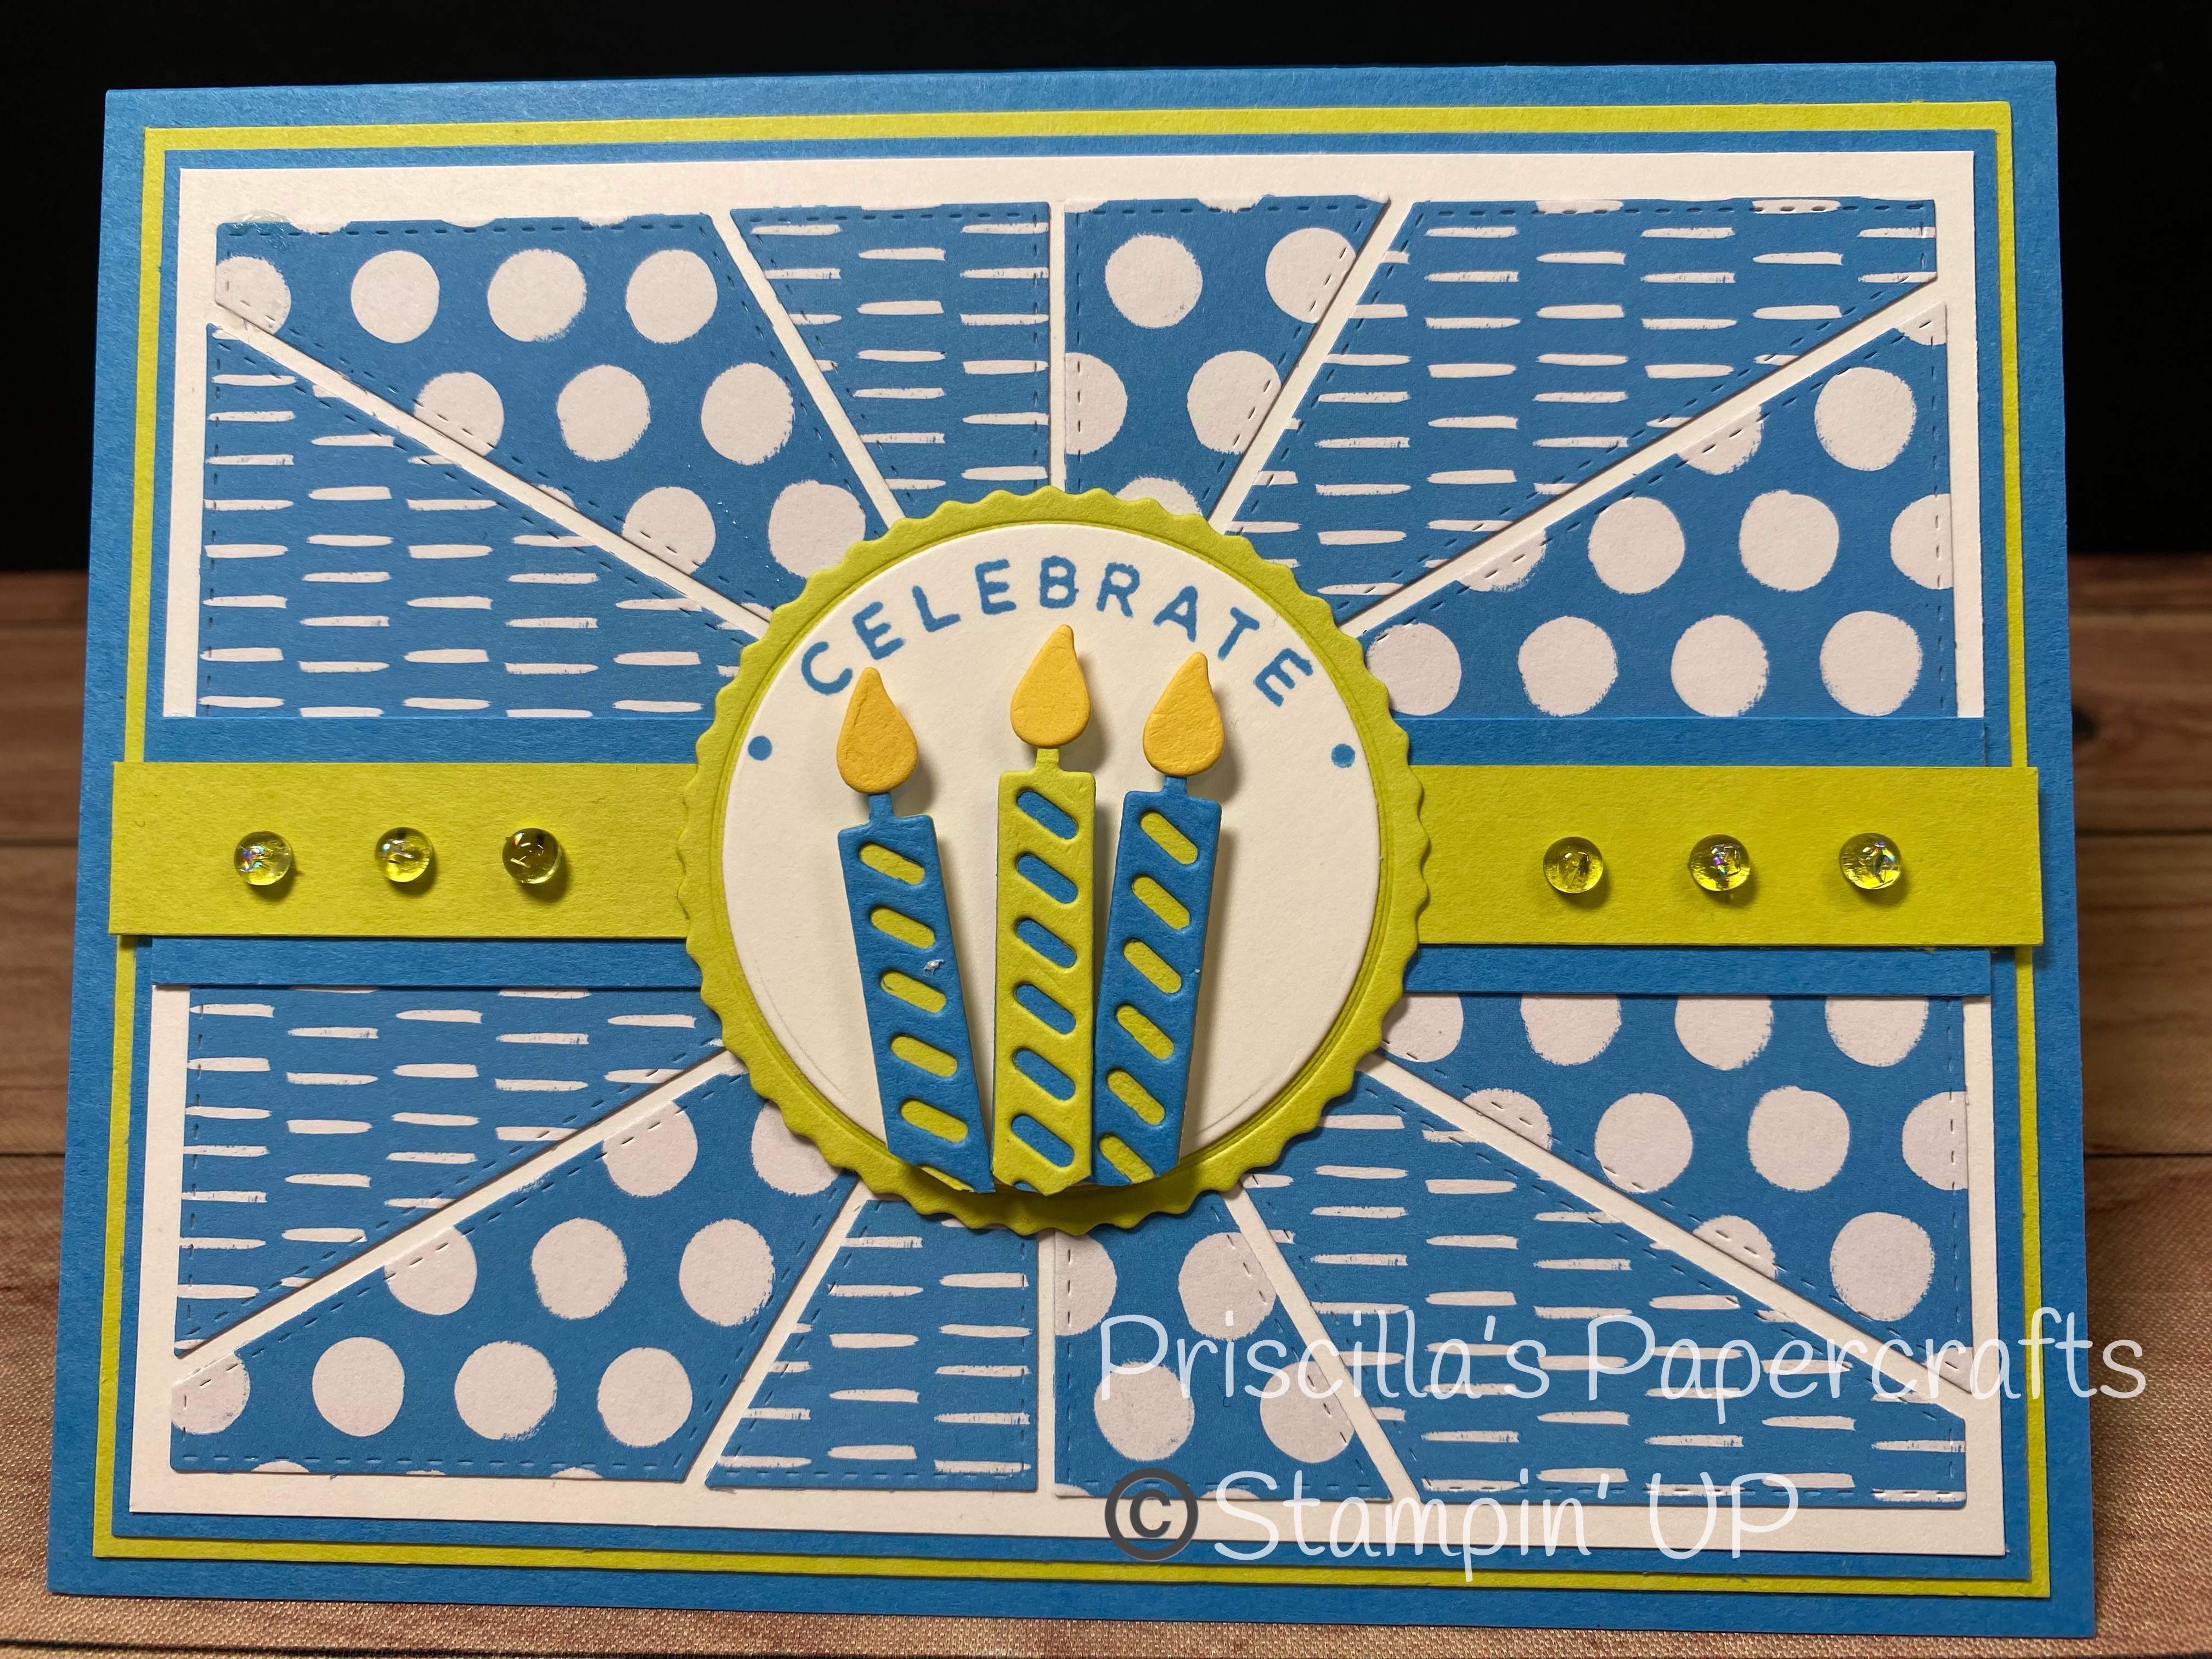
 So I got the new Patchwork Pieces dies (set of two) the other day and thought it would be fun to experiment with them.  They looked very simple - one cuts a starburst pattern and the other cuts "waves" of paper.  Easy peasy, right?

Well not exactly.  

Don't get me wrong - the dies are extremely easy to use.  They cut like a dream, and the pieces are actually attached by a tiny dot of paper in the middle, so why was it so difficult to create this?


Actually, it wasn't...or at least it wasn't once I figured out what I was doing wrong. 

You see I started with one piece of patterned paper (double sided, as almost all of our designer papers are).  So once I cut it out, I flipped over every other piece in order to have both patterns available.   

And then I got totally stuck and confused.  I just couldn't get all the pieces lined up right AND (duh!) since the pieces have "stitch marks" around the outside of them, flipping them over had the stitch marks on the wrong side.  Again - DUH!


But I persevered.  And I finally figured that if I actually CUT two patterns, it goes together beautifully!  (AND you have enough pieces to create a second card!)

I used the Brights 6" x 6" Designer Series Paper in Azure Afternoon.  I pulled apart the pieces, spreading them slightly, and mounted them to a piece of 3-3/4" x 5" Basic White cardstock.  Perfect!

This piece was then mounted to a slightly larger piece of Azure Afternoon, which in turn was added to a slightly larger piece of Lemon Lime Twist before adhering to my Azure Afternoon card base.  Whew!


Circle Sayings (on a white circle cut with the Reach for the Stars dies) was stamped, and then I added the little candles from Sentiment Silhouettes dies.  The scalloped circle was cut with the All That dies.

Two strips across the center of the card had some Tinsel Gems 4 pack added.


I love the end product, even if the "getting there" was painful 😩.  But now I know the secret (and you do too!) of how the sunburst die works, so next time really should be easy peasy!  

The Patchwork Pieces dies are a stand-alone set (no coordinating stamps) but should not be overlooked.  They are fun and will really add a WOW factor to your cards.  Give them a try!


Product List

Wednesday, June 7, 2023

17 Years!

 I would never believe that 17 years could go by so quickly!  That's how long my oldest son has been married to his beautiful wife.  


I saw a sample by Pip Todman on FaceBook, and wanted to use the cascading shells for my anniversary card.  These are from Circle Sayings, and I just repeated the stamp a few times down the side of the Basic White layer.  


The shells were colored with my lightest colors of Stampin' Blends, and then I added a circle stamped with Celebrate, from Circle Sayings.  The "17" was cut with the Alphabet a la Mode dies.


Once done, I layered it over a piece of Lost Lagoon, and then onto a Thick White base.  A few of the Tinsel Gems 3-pack were added for some bling.


I'm so grateful that Christy came into Evan's life...it's a match made in heaven!  


Product List