Monday, July 22, 2024

Merry Monday with Green & Gold

 Time for a holiday card - or how about two?  

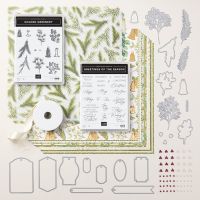
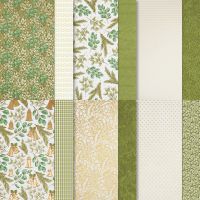
We created one of these in my weekend card club classes, and I sent the other to my Cards-by-Mail customers. They both use the beautiful Season of Green and Gold Designer Series Paper, and a very simple layout that will have you completing your Christmas cards quickly and easily!


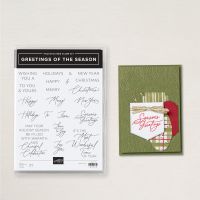
The first card uses a 3" piece of the patterned paper (check out those gold foil accents!) and a strip of embossed Garden Green cardstock.  But see that tiny strip of Gold Foil?  It picks up the foiling in the DSP - so pretty!

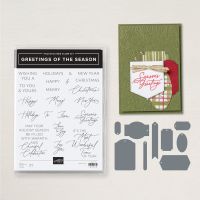
A greeting from Greetings of the Season was stamped on a white oval (Greeting of the Season dies) and layered over one in Pecan Pie.  

My second card is nearly the same...but different!


This time both strips are the Designer paper, and I tucked a small strip of vintage (retired) Red Glimmer Paper in between.  I added the Cherry Cobbler and Pearl Adhesive-Backed Berries to go with the red ribbon bow.

I'm already adding to my collection of holiday cards - at this rate I should be ready to mail them by the end of November.  But will I?  ðŸ˜‚


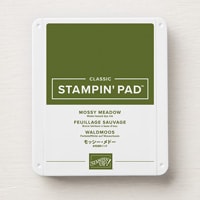
Product List

Thursday, July 18, 2024

I'm Still Here

I'm still here, after traveling for a week and then having a visit from the grands.  When they left I realized I only had 4 days to come up with cards for my weekend card clubs.  Yikes!  

And now I can finally share one of the cards we made:


I love including fun-fold cards in my classes, and we haven't done a Z-fold in a long time.  So I designed one to use some new products, and it was a hit!

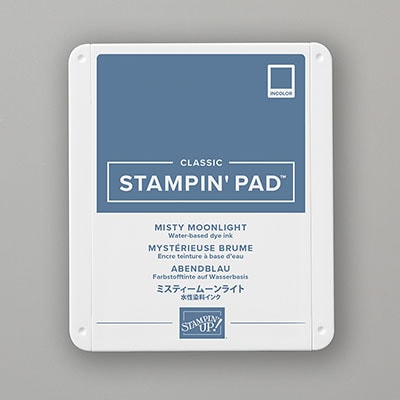
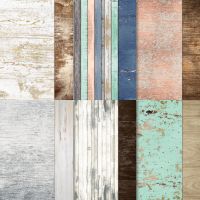
The card base is Misty Moonlight, which coordinates so nicely with the Country Woods Designer Series Paper.  We added two smaller pieces to the front and inside of the card (the base is cut to 4-1/4" x 11" and scored at 2-3/4" and 5-1/2"; fold the card in half, and then fold the top backwards over the front, creating a "Z").

Here's what happens when opened:


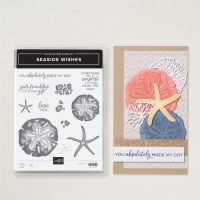
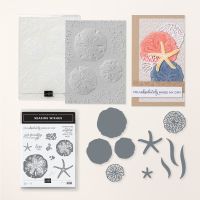
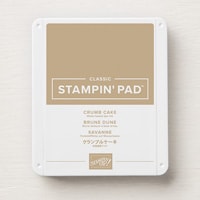
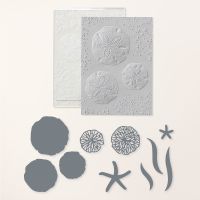
We stamped, and die-cut some of the elements from the Seaside Wishes bundle, and we "dirtied up" a few of the embossed sand dollars.  These were cut from Basic Beige cardstock, then sponged with Crumb Cake ink - they look so real!


I love the way this card stands up!  Such a great fun-fold, don't you think?


Product List

Monday, July 1, 2024

Fun-Fold Country Flowers

 Here's a fun fun-fold card!  It was the second floral card we made at my monthly Card Club with a From the Garden theme:


We started with a piece of cardstock that coordinated with the patterned paper (Country Woods - everyone had a different piece so the cards were all different).  The cardstock measured 4-1/4" x 5-1/2", and we added a strip of the same colored cardstock, measuring 1-1/2" x 5 and scored at 2".  We attached the 2" side to the cardstock base, lining up the fold on the edge.  Then we adhered a piece of the Country Woods paper, cut to 4" x 5-1/4", hiding the bottom of the "hinge".

Our image was stamped, colored with Stampin' Blends and cut with the Country Flowers dies.  Using Dimensionals, this was added to the top piece - a 3-1/2" x 4-3/4" piece of cardstock with a 3-1/4" x 4-1/2" piece of the same patterned paper.  

The top piece was adhered to the hinge, centered on the card.


Then we opened the card and covered the longer piece of the hinge with another piece of 3-1/4" x 4-1/2" patterned paper. 

All that was left was to add the Basic White layer inside - it's the same size as the two smaller patterned paper pieces (3-1/4" x 4-1/2") and centered on the inside, so when the card is closed it is not visible under the top piece.

A pretty easy fun-fold and everyone had fun making it, saying "I can do this at home!".  I love inspiring them to continue stamping at home!  ðŸ˜Š


Product List