I love it when I get a bonus card out of the one I am making. When paper is cut a certain way so that you can use the pieces on two cards instead of one, or in this case, when I cut circles and ended up with enough for a second card:

I started playing with an idea using an old technique. At first I forgot how to do it, but fortunately, looking up "circle" cards on Pinterest, I found a few to help me.
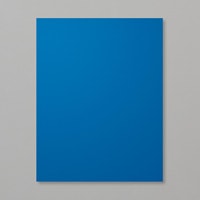
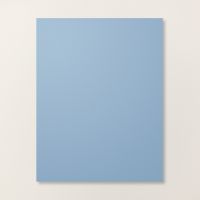
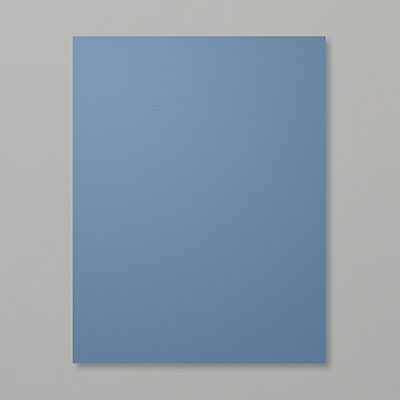
Start by cutting a few circles (I chose to use 5) in different sizes. Using the Stylish Shapes dies, I cut the largest 5 circles using Night of Navy (largest), Azure Afternoon, Blueberry Bushel, Boho Blue and Misty Moonlight in descending order. Then I cut the same 5 circles in reverse order - starting with Misty Moonlight as the largest.

Cut each circle in half. Then start adhering them together, off-center, until all 5 (in my case - you can also do this technique with as few as 3 circles) are stacked.
Now place one pile of 1/2 circles with the cut side at the bottom, and take your opposite-colored pile with the cut side at the top, leaving a space in the middle. (Note my top circles has Misty Moonlight as the largest, and the bottom circle pile has Night of Navy as the largest).

You've created a "swirl", from one side to the other.
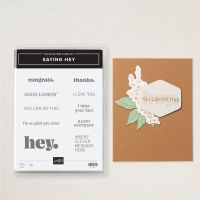
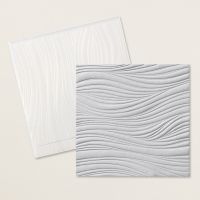
I placed my circles on a layer of Basic White, embossed with the new Soft Waves embossing folder, then added a strip over the middle (stamped with the Saying Hey stamp set). This was adhered to a Thick Basic White base with Dimensionals.

And then I had circles left over (the other half of all the ones used above) so I could make a second "bonus" card! A TWO-FER!
I hope you'll give this a try - the cards are amazing and the recipients will love them!