Wednesday, February 5, 2025

A Book and a Gift Card

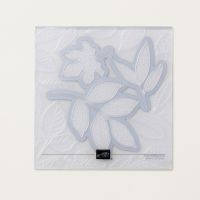
For the Books is a lovely little stamp set, kinda hidden on page 52 of the January - April 2025 Mini Catalog.  I only noticed it because one of the dies - the BIG book - caught my attention.  And we are a family of readers, so I did a double-take and picked up the bundle.

I was trying to think of a card I could make focusing on the large book from the die, and here's what I came up with:


 I have to admit...I needed to get a little creative with this one.  I wanted to use the book, but didn't know where I was going with it.  My mind was racing around greetings I could use (in my opinion, the stamp set is a little limited in the greetings category, although all the books are fun!), and I perused my stash of stamps until I came up with one from Crafting with You - "Life is better when you're crafting".  But I could change that...

Mini Alphabet dies to the rescue!  And since I needed to cut out the word "reading", and since the Mini Alphabet die is just one big die with ALL the letters, I thought, how about incorporating the entire alphabet?  And that's what I did.


Somehow I got ALL the letters to fit (although, yes, Q-R-S is a little tight 😡) but I was able to place them even with the Radiating Stitches die-cut in the middle.  

Although you won't believe me from these photos, the colors are Lost Lagoon and Soft Sea Foam (for the letters).  And it's such a pretty color combo!  Then I added the book cut with the For the Books dies in Pretty Peacock.  


I am totally in love with that tassel! One of the dies in the set; so cute!

But wait!  There's more:


I turned this card into a gift card holder.  Of course when I actually gift it, there will be a Barnes and Noble gift card inside (not a Starbucks - but hey, it was the only used up gift card I had 😁).


I can't wait to gift this one...someone's going to have fun picking out their next read!  


Product List

Tuesday, February 4, 2025

Does This Work?

Sometimes I get ideas in my head and I try like crazy to bring them to fruition.  Sometimes I get really lucky and my card/project turns out even better than I had dreamed.  And then there's today:


 I had an idea.  I wanted to make a monochrome card (using basically just one color, or one group of shades of the same color).  I was going to use the Linked Together dies, and have each panel embossed with a different embossing folder.  

And that's what I did.  

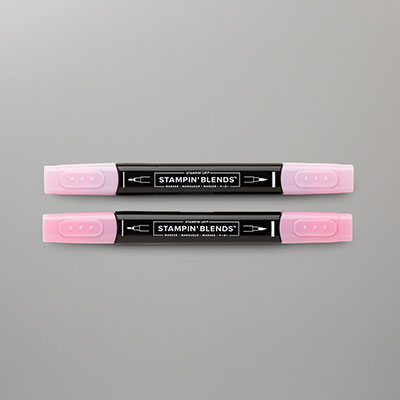
Berry Burst, Petunia Pop, Fresh Freesia and Bubble Bath are four colors that sit side by side on the color wheel.  Each was cut with the die, and then embossed with various folders - Forever Plaid, Eyelet, Starstruck and Cane Weave.


Each panel was arranged on my Thick Basic White card base, and trimmed to fit.  And then the  fun  mayhem began.  What to do next?

I settled on the To the Point label punch, punching one of each color.  Then I pulled the Bright Borders stamps and stamped the images.  And I finished the card with some Purple Adhesive-Backed Sequins, a FREE product offered with a $60 purchase during Sale-a-Bration.


I liked the greetings.


I liked the borders and the little flowers.


But somehow, the card doesn't work for me.  So I guess it's back to the drawing board, and I'll have to try again.  

The lesson?  Don't be afraid to try something new.  Sometimes it works and sometimes not.  And you never know when that idea in your head will turn into a masterpiece.  Just not this time for me!  😁

Sale-a-Bration is now in the final month!  Every $60 purchase nabs you a FREE product from the Sale-a-Bration brochure.  And there is more to come.  Today a second release of products is available, so don't miss out!

Product List

Monday, February 3, 2025

An Amazing Day

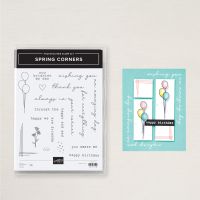
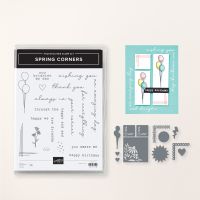
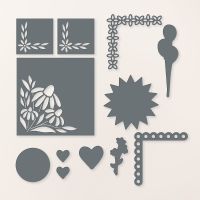
I had a little peek at some sunshine today, so pulled out my new Spring Corners stamps and dies to do a little creating:


 Love!  

This cheery card made my heart smile as I was making it, and my grin expanded as I got closer to finishing it!  

I started with the sun from the dies - so simple and yet so effective.  I thought briefly about adding a smiley face, but decided against it.  What do you think - does it need a face?

The greeting is actually an L-shaped stamp so it fits in the corner perfectly.  Then I stamped the lines in the opposite corner to balance out the card.


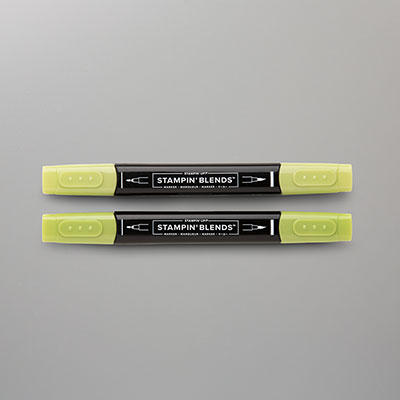
I stamped each of the flowers and colored the flower centers and leaves with Daffodil Delight and Lemon Lime Twist Blends.  Just a hint of color, as the spaces are so small.  Then they were cut with the dies and popped up on Mini Dimensionals.

Since the stamping was done in Tuxedo Black ink, I decided to use a Black card base.  But it was a bit dull.  Some triangles to the rescue - I used the now-retired Stitched Rectangles to cut cardstock (Daffodil Delight and Lemon Lime Twist) and then cut the pieces into triangles.  This added a small splash of color over the black.


A few Adhesive-Backed Shiny Sequins finished off the outside, but I had one extra flower:


We can't have a blank inside, can we?  

Spring Corners is an OnLine Exclusive.  Lots of possibilities; check it out!  


Product List