Monday, March 31, 2025
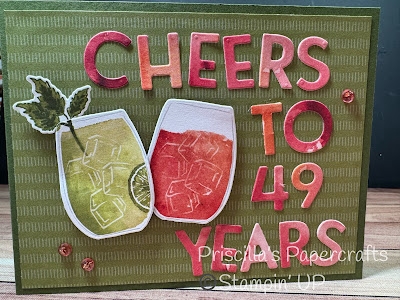
Cheers & Sips
Friday, March 28, 2025
Bridge Card
The ladies who attended my card class last weekend got to make a "bridge card". Take a look:
To be honest, I got mad at myself for including it in my class, as there were tons of pieces that I prepped beforehand. 😩 But seeing everyone's finished product made the effort SO worth it!
Gorgeous Grape was cut to 8" x 4-1/4" for the card base, and scored at 1-1/4" and 2-1/2" from each end. Then there were eight Highland Heather panels to add to the edges (of both sides); these were embossed with the Exposed Brick embossing folder.
The bridge was made using Gorgeous Grape, 5-1/2" x 1-1/4", Basic Black, 5-1/4" x 1", and Basic White, 5" x 3/4". And then we added flowers cut with the Impressions Abloom dies (coming May 4th).
The neat thing about this card is that it folds flat for mailing, and can fit in a standard envelope!
And to make it easy to write a note or sign your name, the back panel is also "finished".
It's always fun to try a new fun-fold!
Thursday, March 27, 2025
Pop Up Sephora Bag
I expect many of you have seen my pop-up gift bag video from a few years ago. It's been making the Youtube rounds for some time and has been very popular.
When I bought a Sephora gift card for my granddaughter, the clerk put it in a tiny shopping bag that is a gift-card holder. But not to be outdone, I needed to turn it into something a little more special. So I got to work:
Isn't that cute?
Now if you have ever shopped Sephora, you will probably recognize the theme - black and white stripes with a little red.
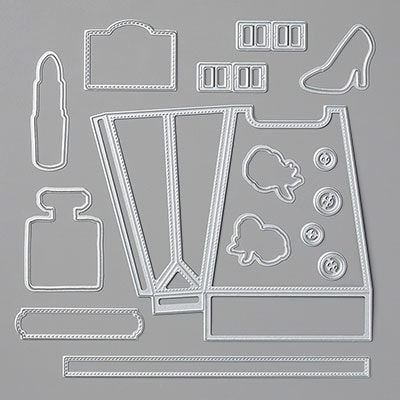
I turned to some discontinued products to make this card - Dressed to Impress stamps/dies and some retired black & white designer paper.
When the card is closed it needs a belly band to hold it shut. So I wrapped some Real Red cardstock around the card and decorated it with a label and some beauty products.
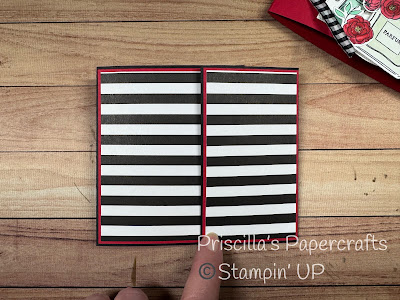
Pulling off the belly band, the card looks like that.
And then you open it:
OMG! Adorable, if I say so myself!
Now I had to get creative to use the bag inside the card. I carefully peeled open the bottom of the bag and cut away some of the paper so that it would work in my card. I was a little nervous - I only had one bag so I didn't want to ruin it. But fortunately, I did it right!
How cute is that?
Wednesday, March 26, 2025
Box Card
At my workshop last weekend, one of our projects was a "box card". So what's a box card?
Well, for one thing, it's hard to photograph 😁
But it's a cool fun-fold card that looks impressive standing on a mantle or desk, but still folds up to fit in a standard envelope.
Starting with a piece of Wild Wheat cardstock (retiring soon!), it was cut to 5-1/2" x 10-1/4", and scored at 4-1/4", 5-1/4", 7-1/4" and 8-1/4". Wow! Lots of score lines!
But when folded, it creates a box on the front than can collapse to one side. Pretty neat!
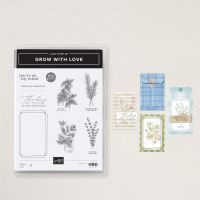
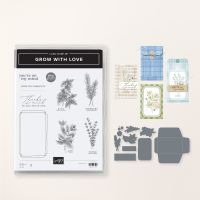
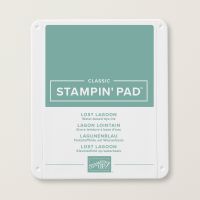
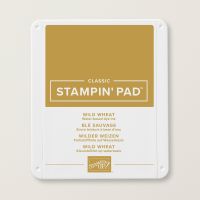
We used patterned paper from the Everyday Happiness pack, on OnLine Exclusive. Grown with Love is the stamp set/die set that we used to stamp the frame on the front and the thyme, using Lost Lagoon and Wild Wheat ink.
Although this looks like a complicated card, it was really very easy to put together. And everyone really liked it!
The 2023-25 In Colors are about to retire. Wild Wheat, Boho Blue, Moody Mauve, Pebbled Path and Copper Clay are going away and making room for 5 new In Colors. So if any of these are your favorites, be sure to pick up a supply now! Because once they are gone, they are gone for good!
