Sunday, August 28, 2022

The End is Near!

 Wow!  What a dire title for this post!  😁

But it's almost the end of Sale-a-Bration, and I don't want you to miss out!  Some of the wonderful FREE items are already gone, but there are still some left.  

One of my favorites is the Silver & Gold 6" x 6" Designer Paper.  With silver- and gold-foiled paper in two patterns, there are so many reasons to love it!  Here's one:


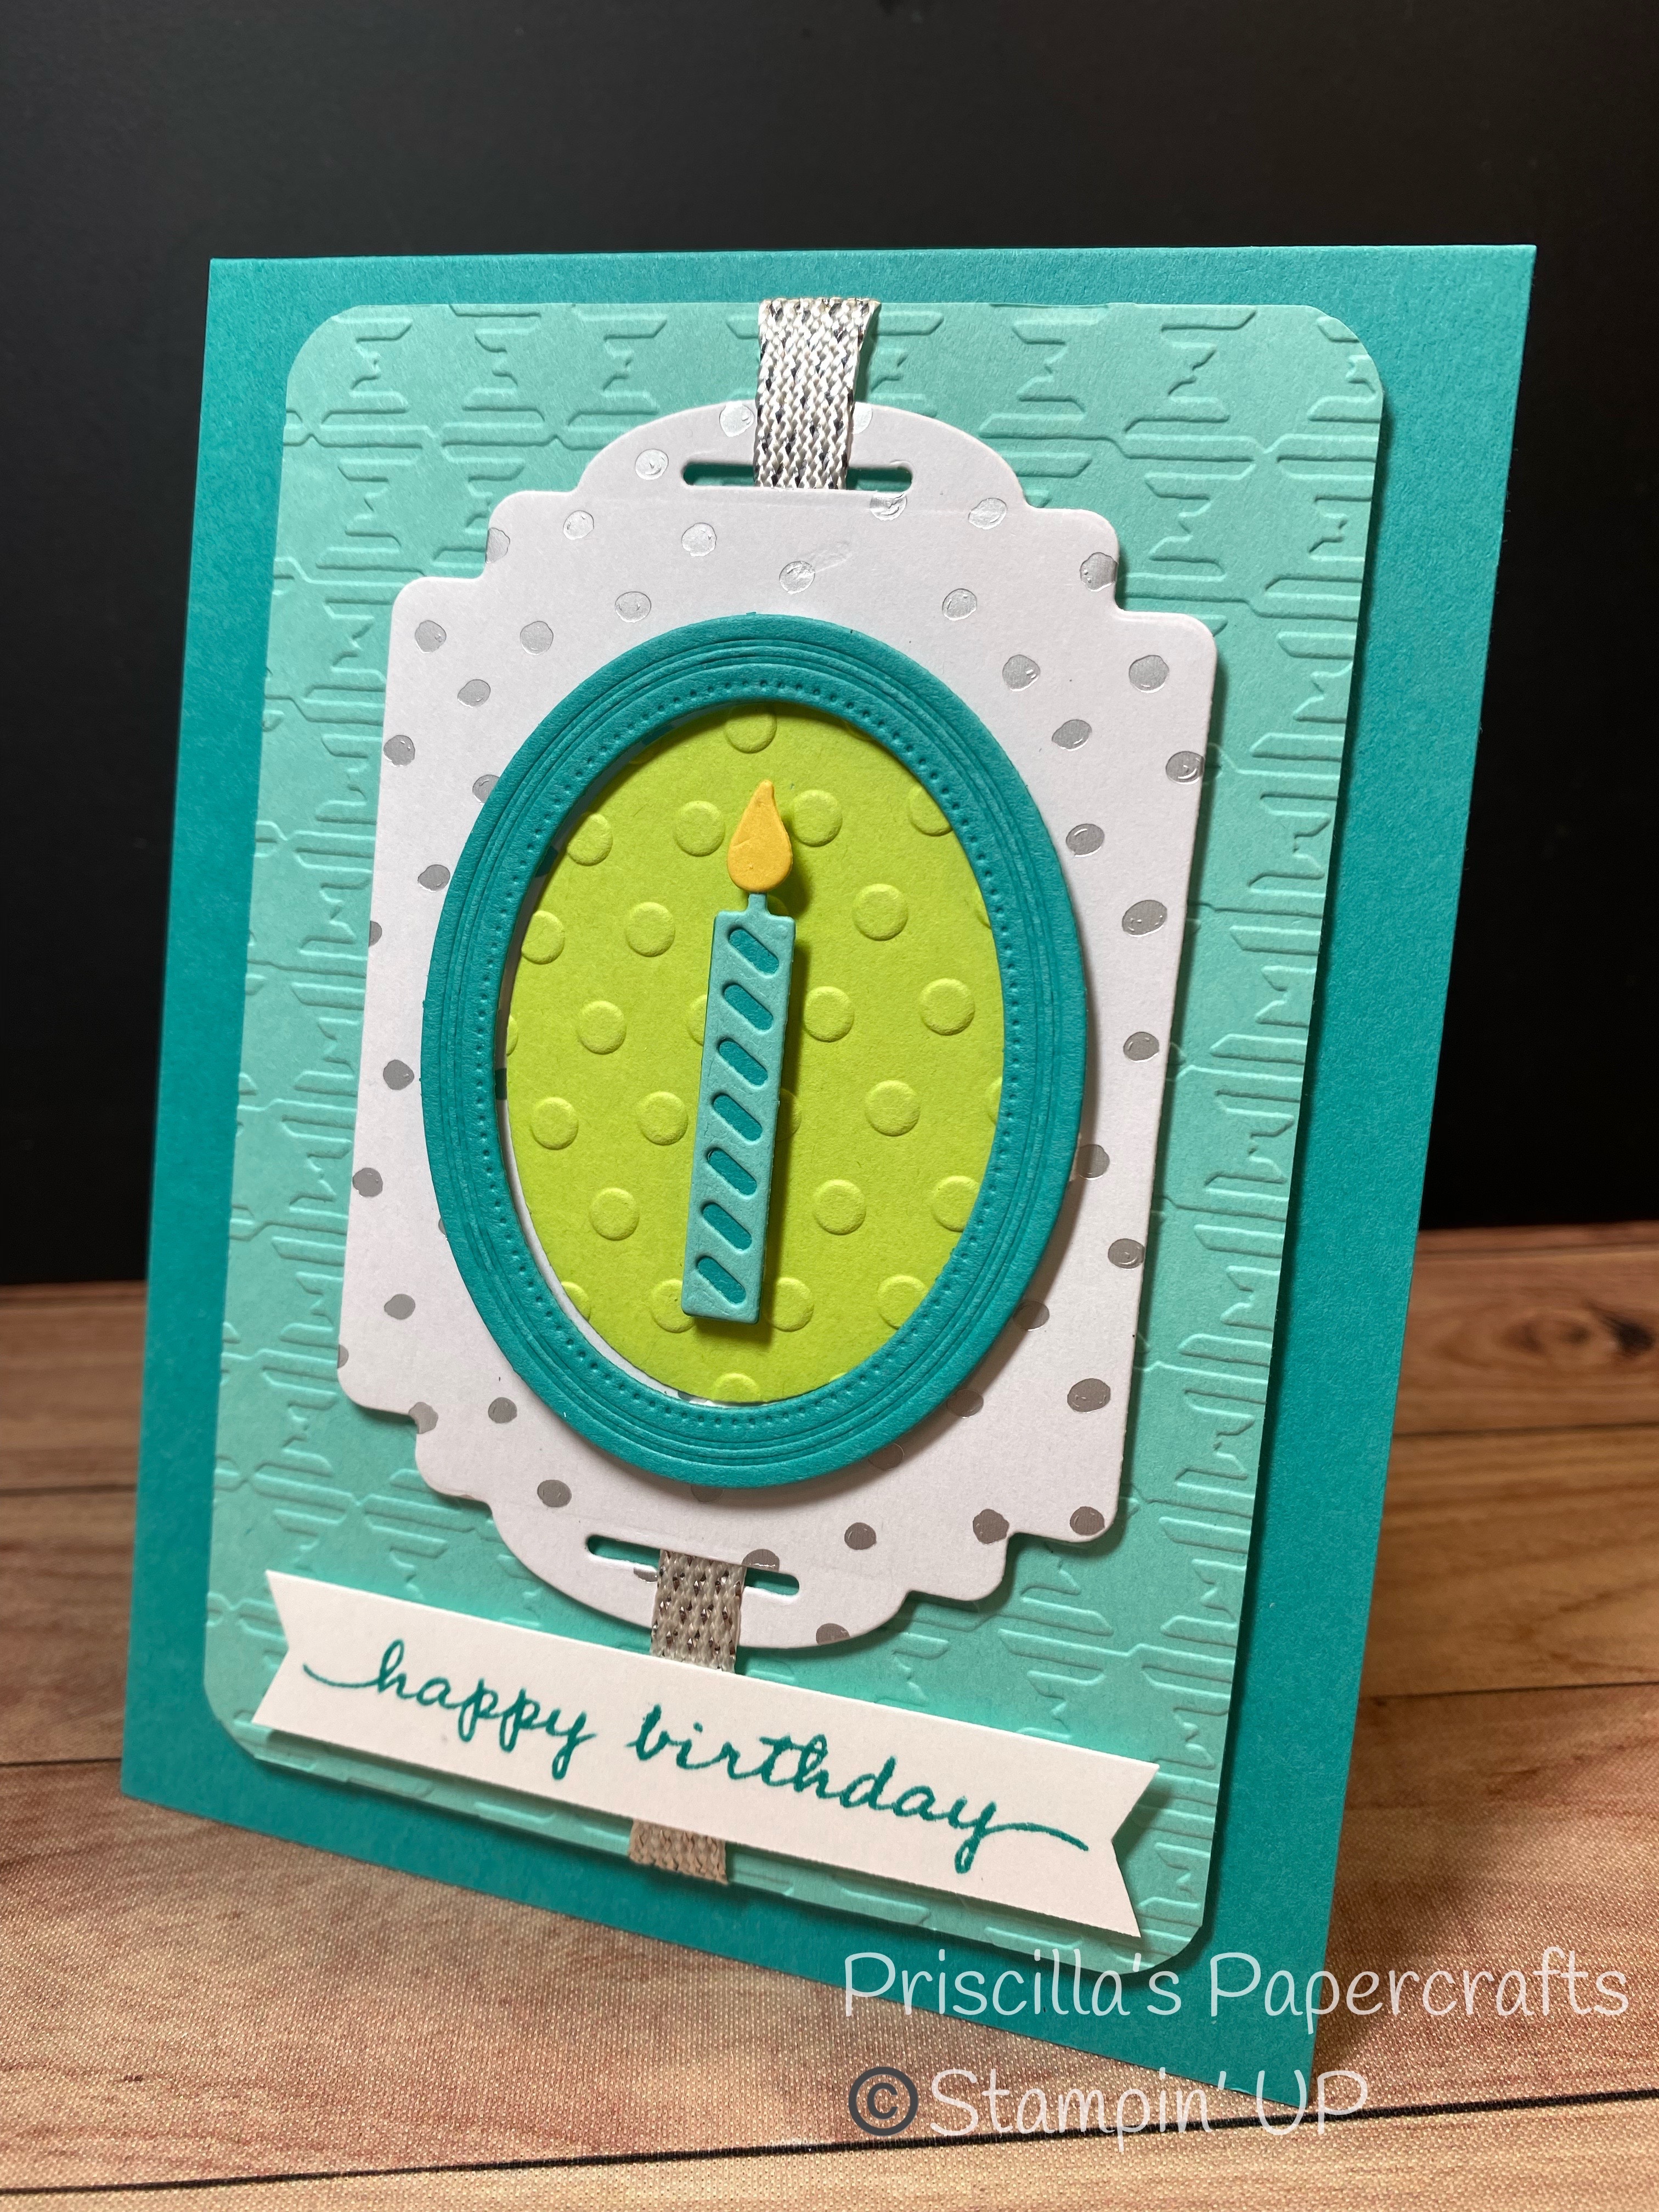
This was a card from my monthly Cards-by-Mail.  It featured the tag made from the Silver & Gold Designer Paper, and cut with the Designer Tags dies.  


The candle (Sentiment Silhouettes dies) is mounted on a frame from Fabulous Frames, then on the Silver-foiled tag.  And look at that embossed background - Coastal Cabana embossed with the Gingham embossing folder.  SWEET!


Don't miss your opportunity to get this beautiful paper!  Place a $50 order by August 31, and the paper can be yours for FREE!  Supplies are limited, so don't delay!


Product List

Saturday, August 27, 2022

A Swap

If you've been reading my blog this week, you may have caught on that I have been in New Orleans for a leadership conference with Stampin' UP!  I mentioned the other day that I was making some "swaps" to trade with other demonstrators in order to get new ideas and see how others use products.

Here is one of the swaps I created to bring along:


 I must be getting ready for autumn, as the colors in this card are growing on me.  Does that happen to you?  It seems that with each season, I gravitate towards different colors.  And I'm liking Cajun Craze and Mossy Meadow right now.


I also LOVE this pumpkin.  Long ago, I purchased a stamp set from Stampin' UP! that I thought had the most beautiful pumpkin.  It was very similar to this one, although much smaller.  I used that stamp set for years, even well beyond the time that it retired, all because of the lovely pumpkin.  

So now I find myself loving this one.  And the best part is that there are coordinating dies.  And if you don't feel like stamping the pumpkin, there are dies in the set with which you can make a non-stamped pumpkin!  How about that?

So let's take a look at this card.  It uses Hello Harvest and Charming Sentiments.  I stamped the pumpkin directly onto Cajun Craze cardstock, using Tuxedo Black ink, then cut it with the coordinating die.  And I stamped the greeting in black on Mossy Meadow.  Charming Sentiments has a fabulous set of dies, Sentiment Silhouettes, which cut out the "word bubbles" around all the greetings.  


And look behind the words - I stamped the leaf from Hello Harvest on a label, stamping off once, and then stamping the image twice without re-inking.  


Want to know the best way to use your patterned paper?  I usually cut a piece to 4" x 5-1/4" to create a layer on my card base.  I can get 6 cards from a 12" x 12" sheet this way.  But when I have to make multiples I cut it a bit smaller.  For this card I cut the paper to 3" x 5-1/2"; this allowed me to make 8 cards from one sheet, and the length covers the card base from top to bottom.  I also used a different pattern, cutting it to 3/4" x 5-1/2" for a little strip under the main pattern.

But wait...that left 1-1/4" of the black card base showing along one side.  What to do?  I simply stamped the leaf pattern using Versamark ink, and heat-embossed it with Clear embossing powder.  See the shine?  Subtle, but distinct.


I'm looking forward to swapping with my fellow demonstrators from all over the world.  I know I'll get some great cards back, and I hope they like my "autumn" card.  


Product List
Friday, August 26, 2022

Yet Another Birthday!

August is one of the busiest months in our family for birthdays!  My daughter, daughter-in-law and two granddaughters all have birthdays.  And I've shown you their cards, except for my daughter's.  Today is the day for Aly's (I mailed it late, but she should have it by now):


  Aly loves palm trees.  So what better card to make for her than one with palm trees on a beach? 

And I thought a new technique I learned (and taught at last week's Card Club) would add a nice touch.


So I started with the "water".  I masked off the bottom part of the card, where the "sand" would be and then I used Blending Brushes (on Shimmery White cardstock) to add Bermuda Bay, Pacific Point and Tahitian Tide inks in a random pattern.  Then I sprayed a piece of plastic wrap with water, and laid it directly on my cardstock, creating little wrinkles in the wrap.  After it dried, I removed the plastic, and had the sweet pattern on the cardstock.


Then it was time to create sand.  Another Blending Brush with Sahara Sand ink colored the bottom of the cardstock, meeting the water.  I also stamped a few of the "sand" stamp images using Crumb Cake ink (stamp from Oceanfront).  


Then I got a little "genius" - I used the Snowfall Accents Puff Paint to create a "foam" at the water's edge - just perfect!


Black palm trees were cut with the Palms dies; a shell from Friends are like Seashells was stamped and fussy-cut, and got a pearl embellishment, and some Faux Sea Glass pieces were added to the beach.


A pretty Chic shell in Distressed Gold finished up the inside of the card.


And that's it for my August birthday cards!  Whew!  

But c'mon back and see what we made in our Card Club this month.  Always something new...


Product List